
The weather has been just a tad cold this last week and I have been hard pressed to spend more than a few minutes outside before needing to warm fingers up again. I have concentrated on getting a few small, but necessary, tasks worked on, things that take less time than my fingers to get too cold.

The companionway hatch needs to be finished off. Firstly, the almost correctly sized machine screws arrived and I was able to trim these to the correct length. Unfortunately, these all ended up being slightly different sizes due to the irregularities in the slot. This is only a problem when the hatches is removed as the screws need to be labelled to make sure that they go back in the right place.
Which is immediately!
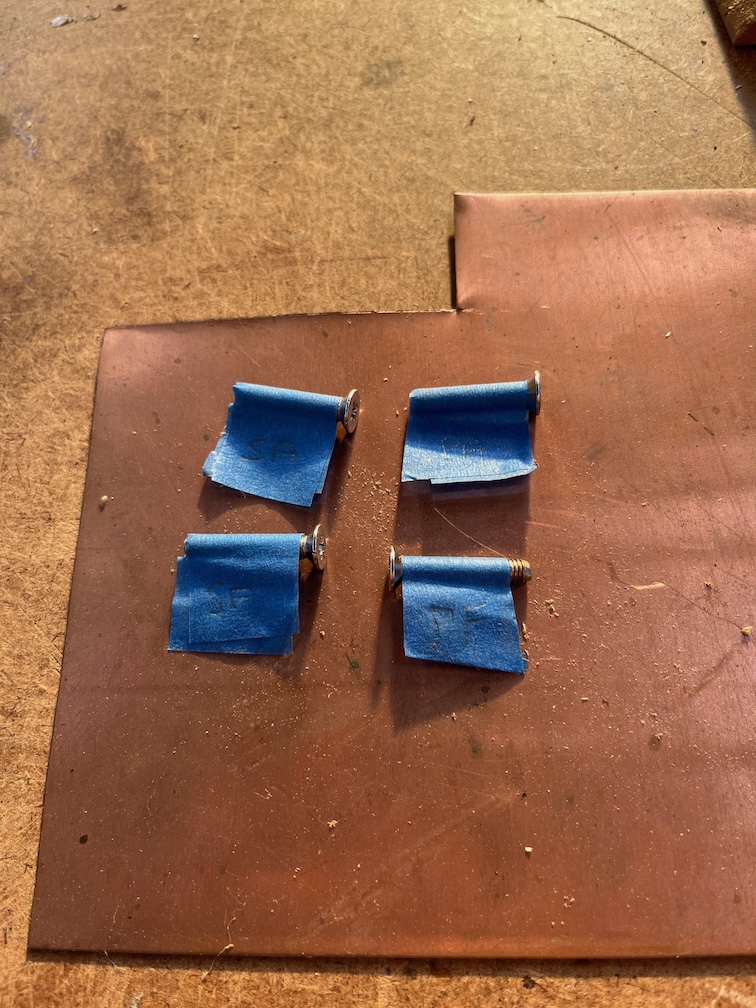
So, four machine screws carefully labelled.

The hatch was taken off the boat, sanded with 80 grit, then 120 grit sandpaper, using a paint scraper when necessary and then taken inside along with the can of varnish, warmed up by the Rayburn for a while, before being supported on a milk crate in the workroom to be varnished.
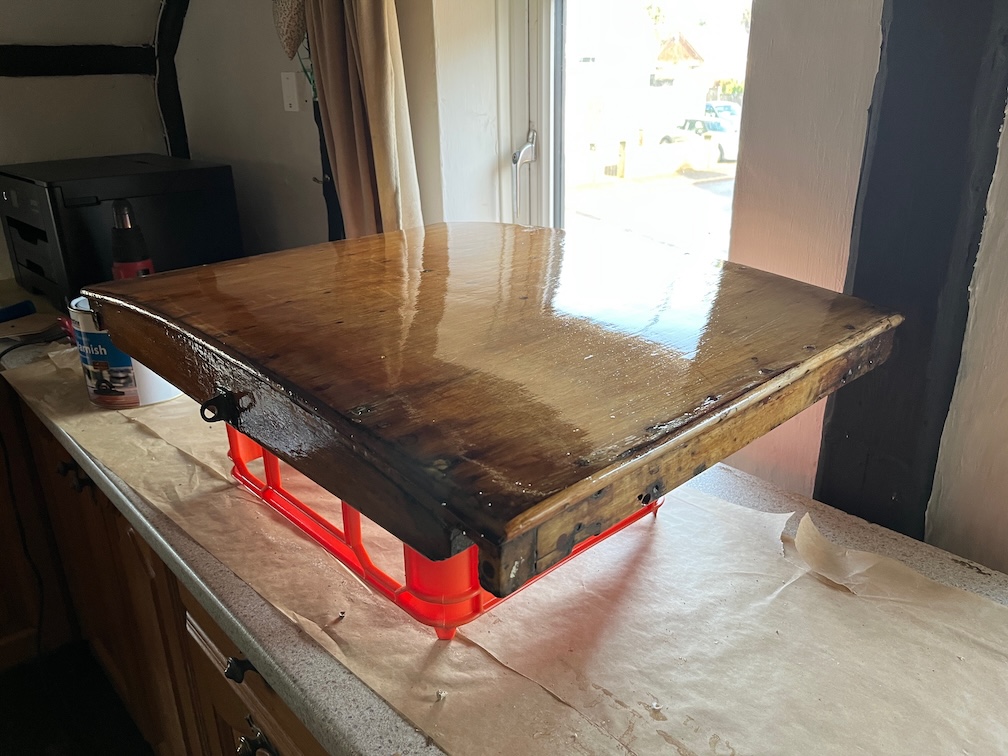
The top and sides were given a coat of varnish and the result is quite good.
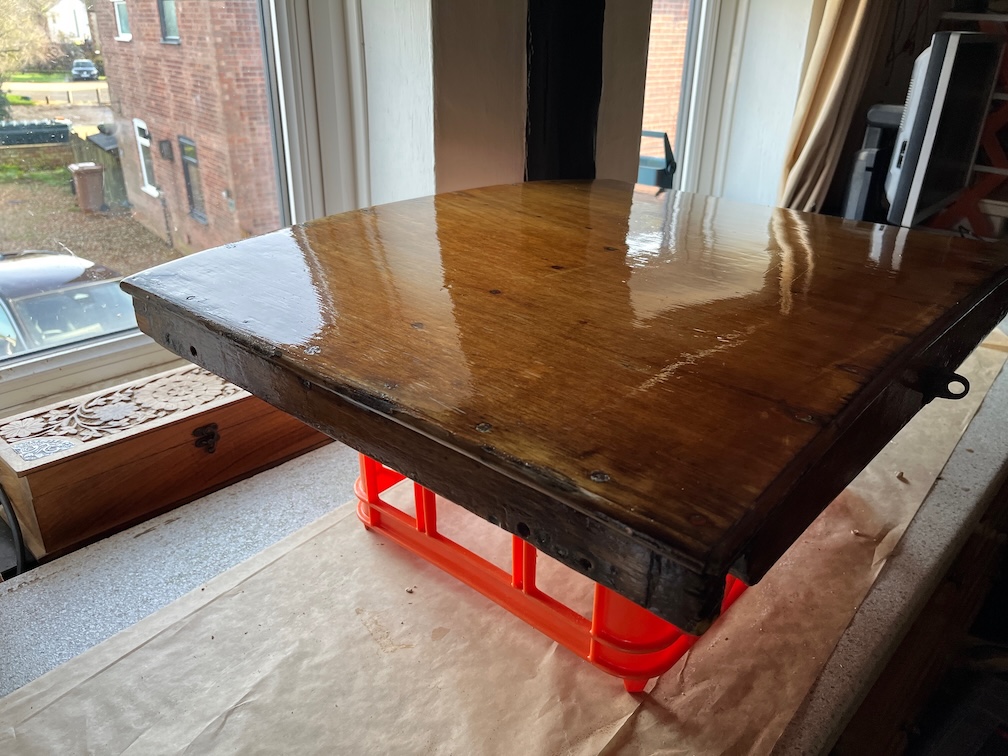
I’ll put on three or four coats, lightly sanding between the coats before turning it over and putting three or four coats of varnish to the underside of the sides. One side is almost devoid of varnish and I may apply a couple more coats to this area. Once done I shall leave in in the workroom until I need the space to epoxy the centerplate case sides when I will take it down to the workshop and suspend it by the padlock staple from the rafters well out of the way.
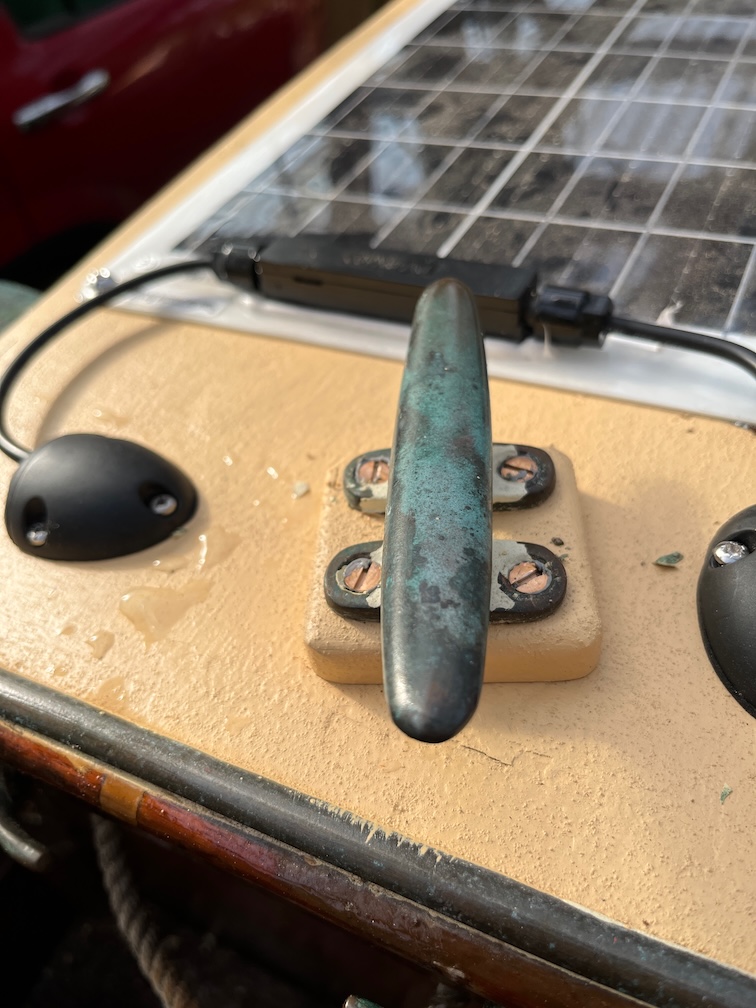
The longer bronze screws for the port coachroof cleat also arrived and these were also trimmed to length and screwed in place.
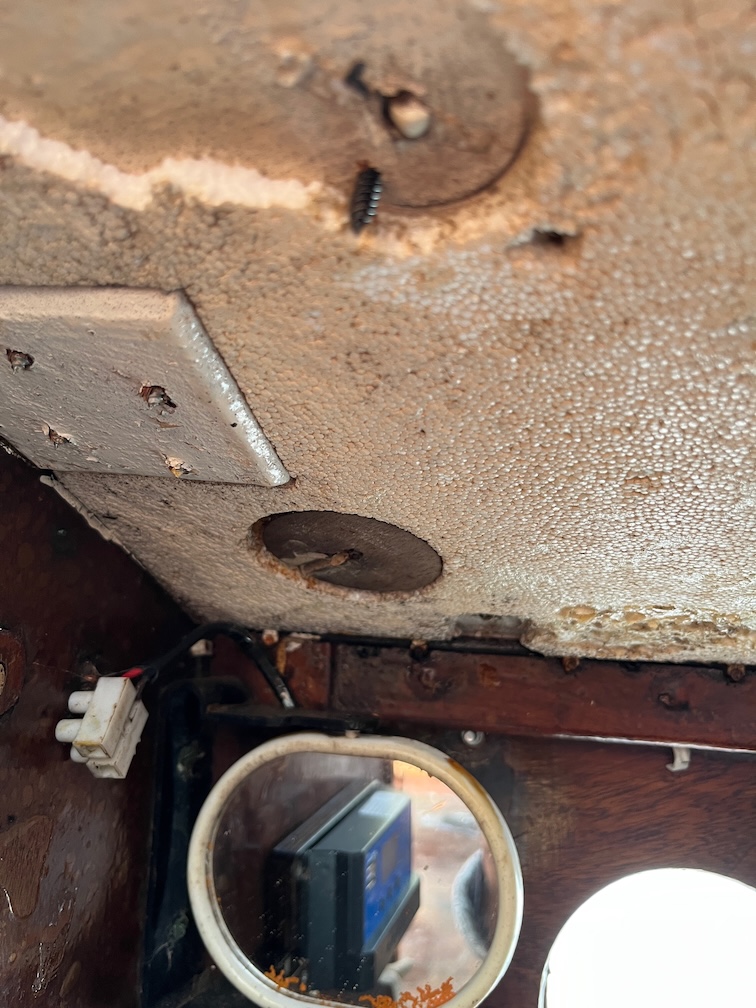
The original screws protruded slightly from the backing pad but the replacements were trimmed so that they do not.
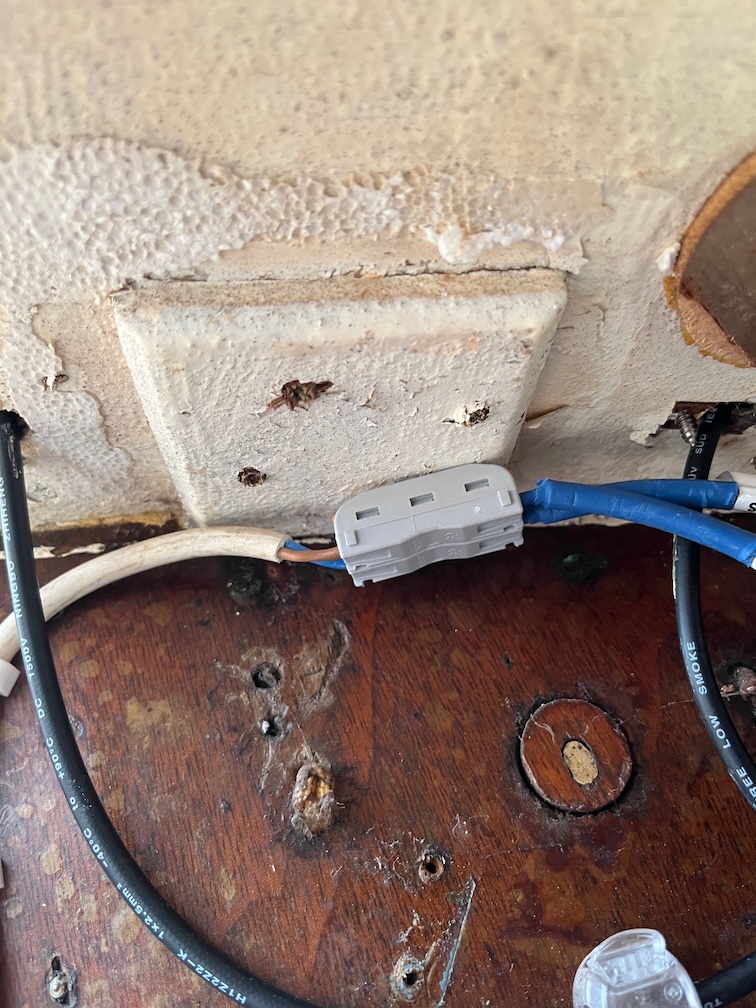
This is the pad before the update and you can just see the tips of the stainless screws protruding from the backing pad and whilst these are not in an easily accessible place, if you were to put your had up there you would risk getting you hand scratch as the points were quite sharp. The long black screw you can see in the photo was one of the temporary screws holding the solar panel in place. These have been removed and replaced with bolts, washers and self-locking nuts.
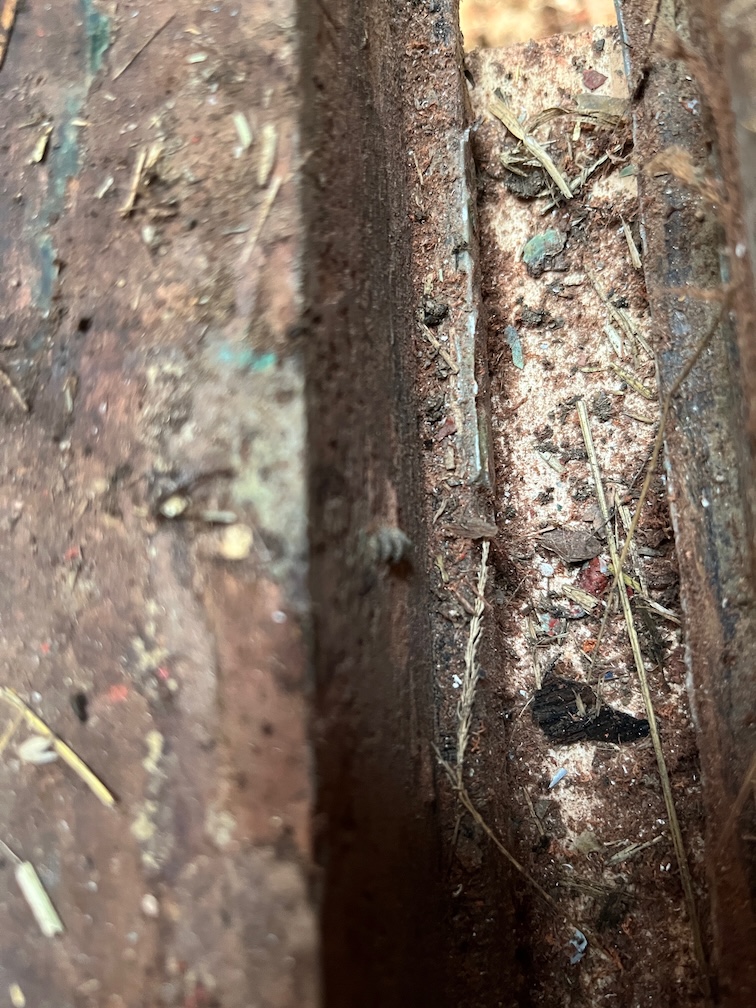
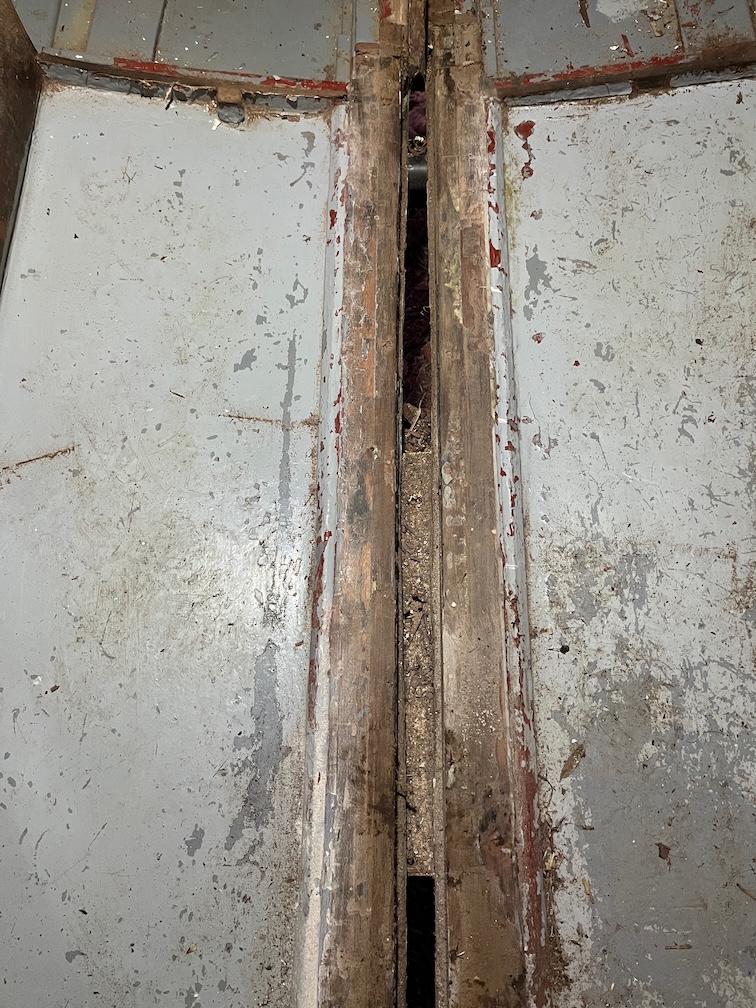
Whilst cleaning out some of the mess in the part of the keel slot that is on the long support I noticed that one of the screws through the original bottom runner that has been cut off extends out of the side of the slot. You can see the yellow brass top of the screw where it has been cut off and the threaded end of the screw in the side of the slot. This needs to be removed. There is another one on the other side of the slot a bit further aft which will also need to be removed.
The removal might be a bit tricky since I need to make sure that the side of the slot is not damaged in the process and I think that the best solution will be to cut off the part of the screw that protrudes through the slot sides.
I have a plastic handle device that holds a hacksaw blade that can be used in situations like this. One of the protruding screws cut off without problem but the other did not. Instead, as I pushed down with the saw to cut the screw, it started coming out of the hole downwards. After a few strokes I was able to pull it out completely with my fingers.
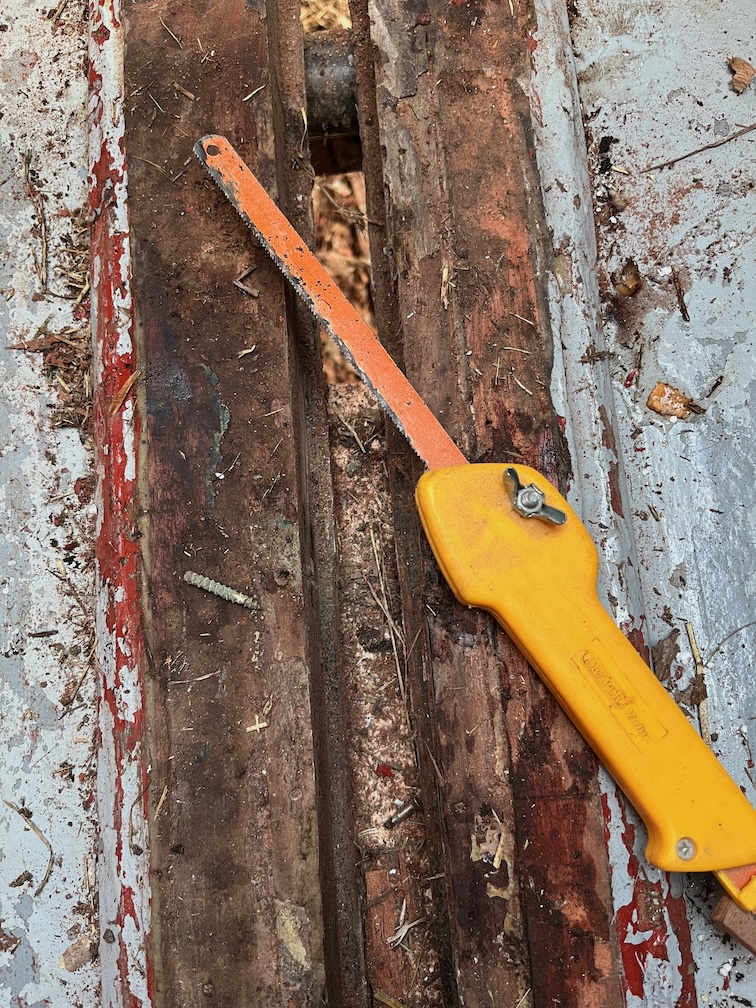
The best part is that I did not damage the side of the slot.
But, I have to fill the hole before I assemble that side of the centerplate case.
After I had finished work and whilst there was still a bit of daylight, I took a chisel and then 40 grit sandpaper to the top of the keel which is still looking a bit rough.
The easily removed pieces of the top runner have been removed and I’ve given it a rough sand with the 40 grit paper to remove any loose bits. I’ll dig out my belt sander and run that over the top to try and remove the stubborn pieces of glue and old runner. This top edge and the inside of the slot need to be free of old glue and wood so that the new case sides and runner can be bonded together securely.
I still have the forward section of the case to remove and also the aft block to deal with, but I am getting close to the point where I can finish the port case side at which point I can get on with the epoxy work for the inside of the case.
Time for a cup of tea.