
With the forecast set to be wet but not cold for the next two or three days, I decided that one of the things that I needed to get done was the painting of the coachroof where the solar panel is sited. Without this being done, the panel and through deck fittings cannot be fitted. But the paint needs temperatures that are not close to freezing, which is forecast for next week.
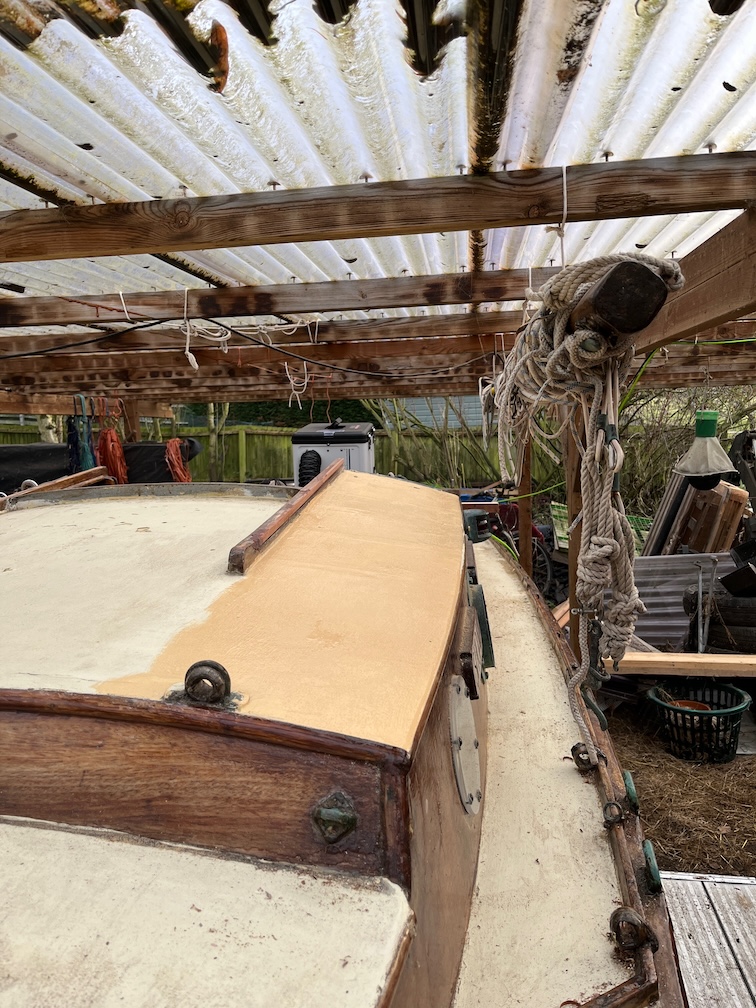
I removed a cleat from the coachrood , scraped off loose paint and sanded, then cleaned the surface before masking the edges and slapping on a coat of anti-slip deck paint. I’m in the last 20% of the last tin I have of this paint which I use on Naiad as well and will be using on Shoal Waters, so ordering some more of this has become necessary.
Shoal Waters will need at least two coats all over as the current coating is flaking off and well worn in places. Following Charles’ methodology I’ll scrape off the loose bits, sand and then paint over what stays stuck on.
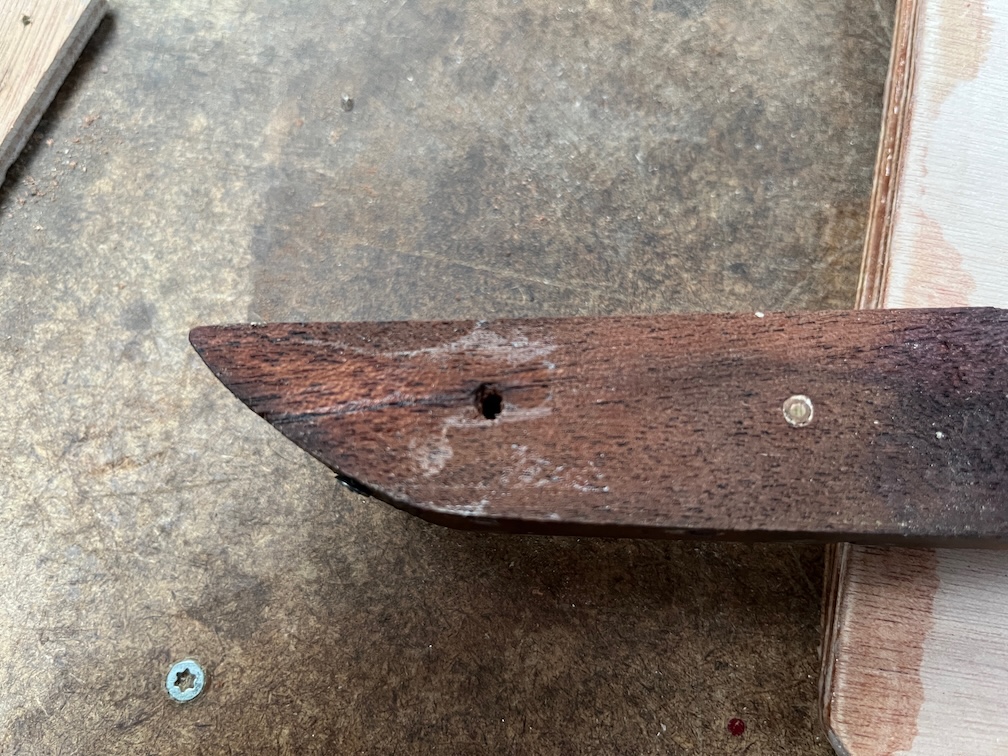
Last night I drilled the pilot holes for the screws in the top runner and one of the ends split when I screwed it to the case side, requiring some glueing and screwing to repair. You can just about see the thin line of the split from the edge of the runner along the grain to the screw hole. At this point I have squeezed wood glue down the split from both sides and screwed it together and cleaned up the squeeze out. Once the runner is glued to the case side I’ll remove the screw. I could have used a cramp for this, but clamping on a curved wedge-shaped surface is not ideal.
This is the screw from the top. It will be necessary for remove it since it will prevent sanding in the future and the glue will make it unnecessary. The hole will be filled with an epoxy filler.
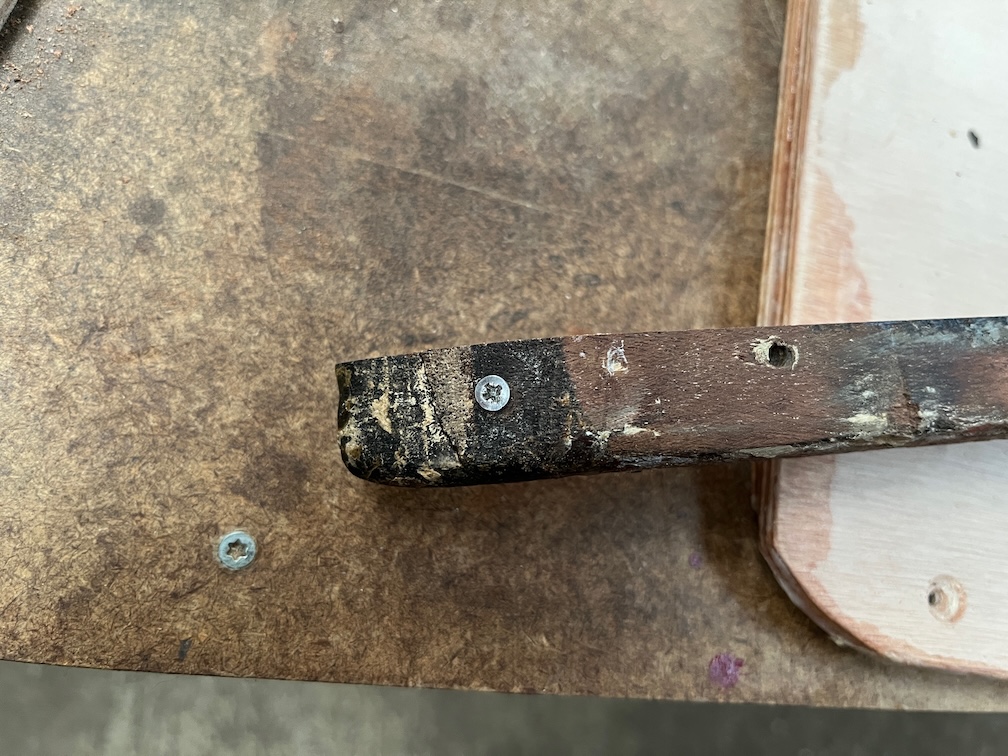
Later, after work, I put a second coat of anti-slip deck paint on the port side of the coachroof, the prior coat having dried nicely, and then attacked the remaining portion of the case side and runner that are still in situ.
I removed the first 30 cm or so to start with. The two runners that are left on the keel are too wide for the multitool blades I have to penetrate so I had to cut them off one at a time. Here you can see the plywood that protrudes into the keel slot coming away from the keel.
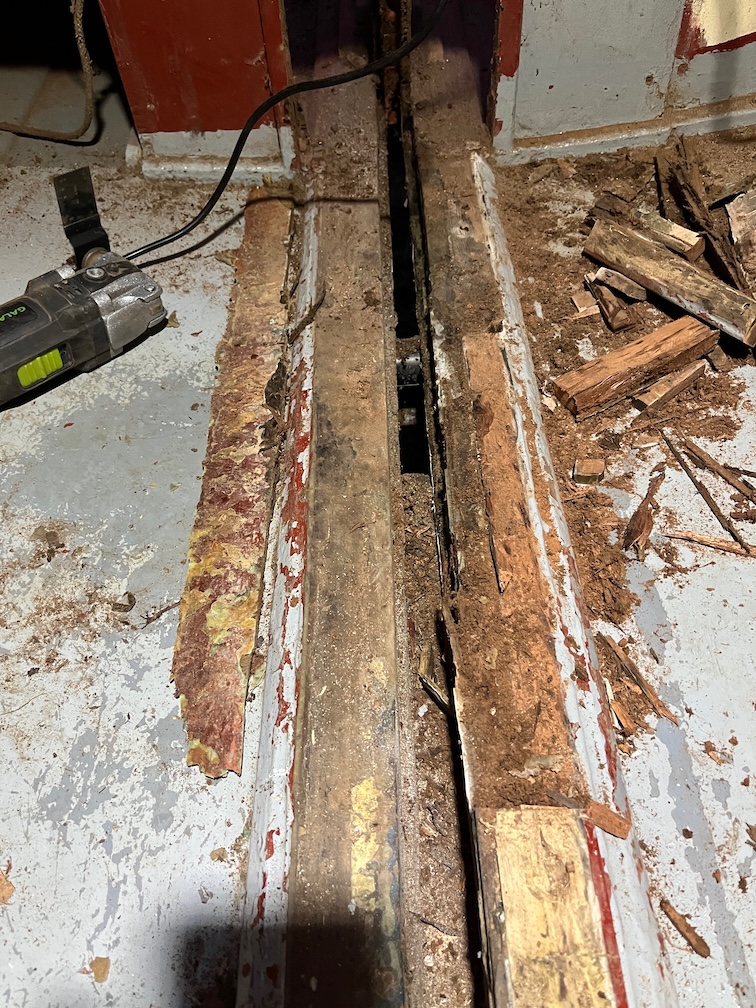
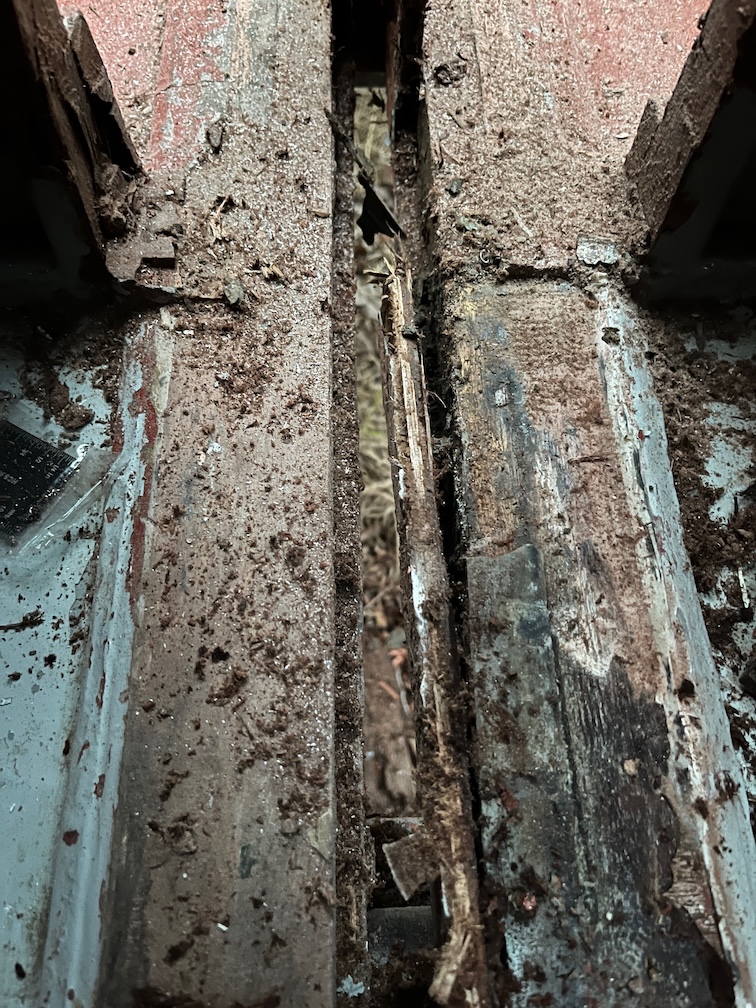
I had time to do some more and this is as far as I reached before deciding that it was time to stop. At this point I need to clean up the mess, remove the remaining sliver of runner from the keel, and then turn around and work on the remainder of the runners from the aft. So, a good place to halt for the day.
The long, narrow piece to the left of the keel by the multi-tool is the plywood from the slot. It came away fairly cleanly and the slot will only need a little cleaning up to remove any glue that stayed on the slot rather than come off with the plywood.
Time for a cup of tea.