
The task for my tea breaks today was to shape the hatch runners and the hatch so that it can be dry fit and then taken inside to varnish.
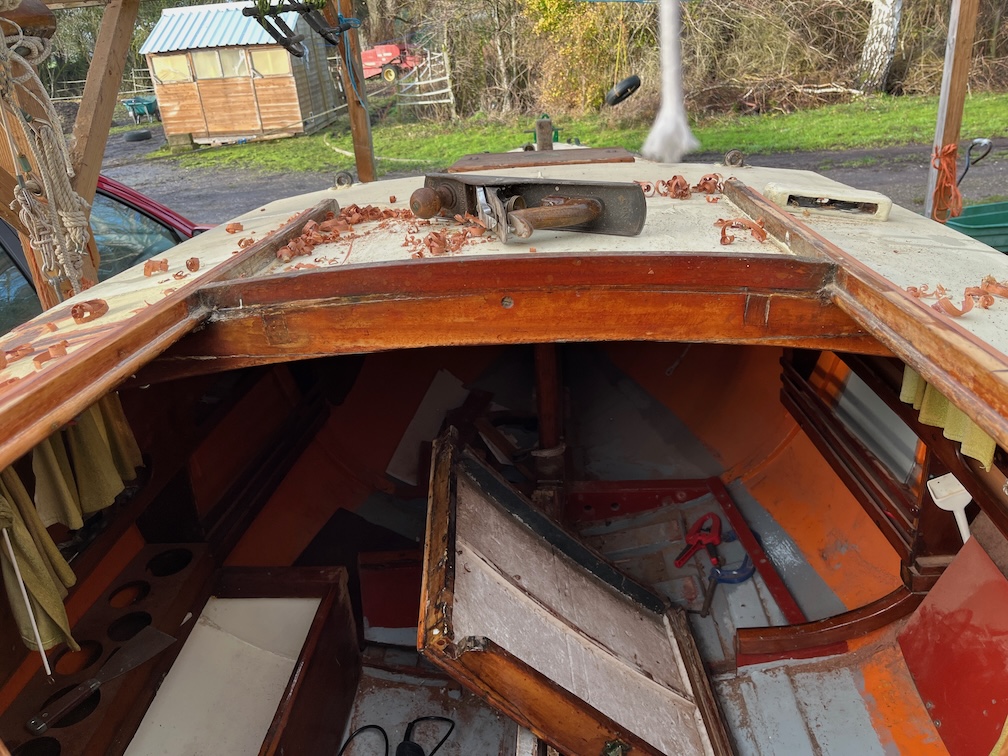
I used a decent and quite sharp plane for this and soon had the tops of the new runners planed down to meet the existing wood.
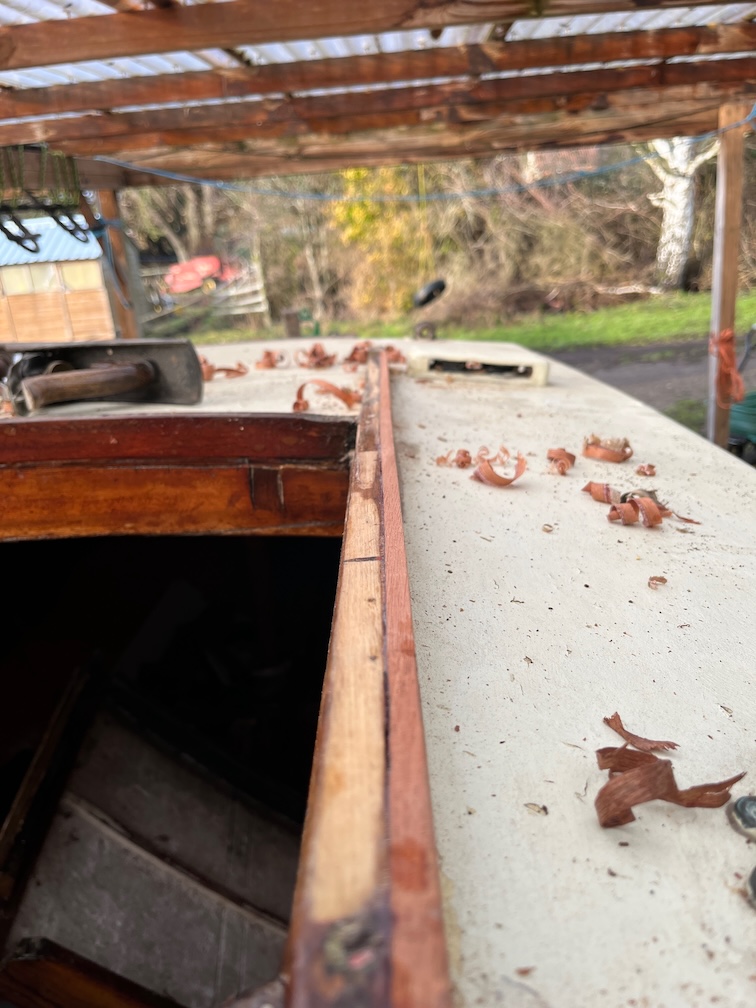
Some of the varnish on the old runners was planed off as part of getting everything flat, but this will be replaced one the weather warms up.
The port side needed a lot more planing down, but less varnish needed to be removed to get a flat finish.

After a few adjustments with the plane and a chisel, I had the hatch moving freely on the runners. Here is it completely opened…
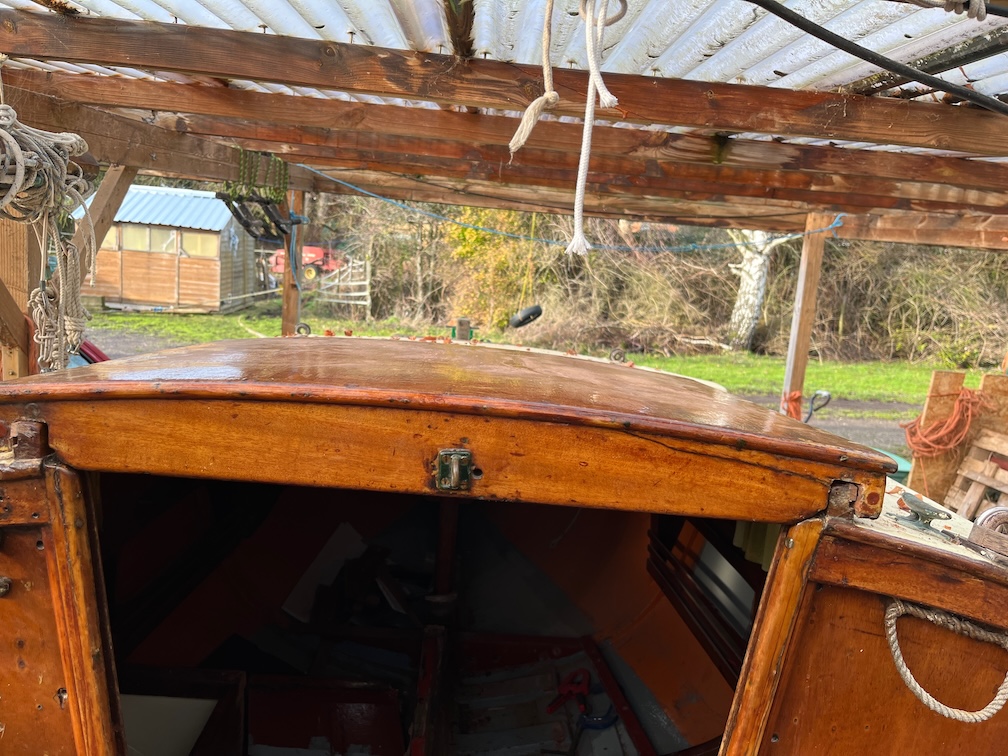
…and completely closed here.
Once the old and new runners have been varnished I shall put a thin coat of beeswax on each runner to reduce the friction and to reduce the wear caused by sliding two pieces of wood over each other. I’ll need to be a bit careful about this as too much will mean getting beeswax over your hands when sailing.
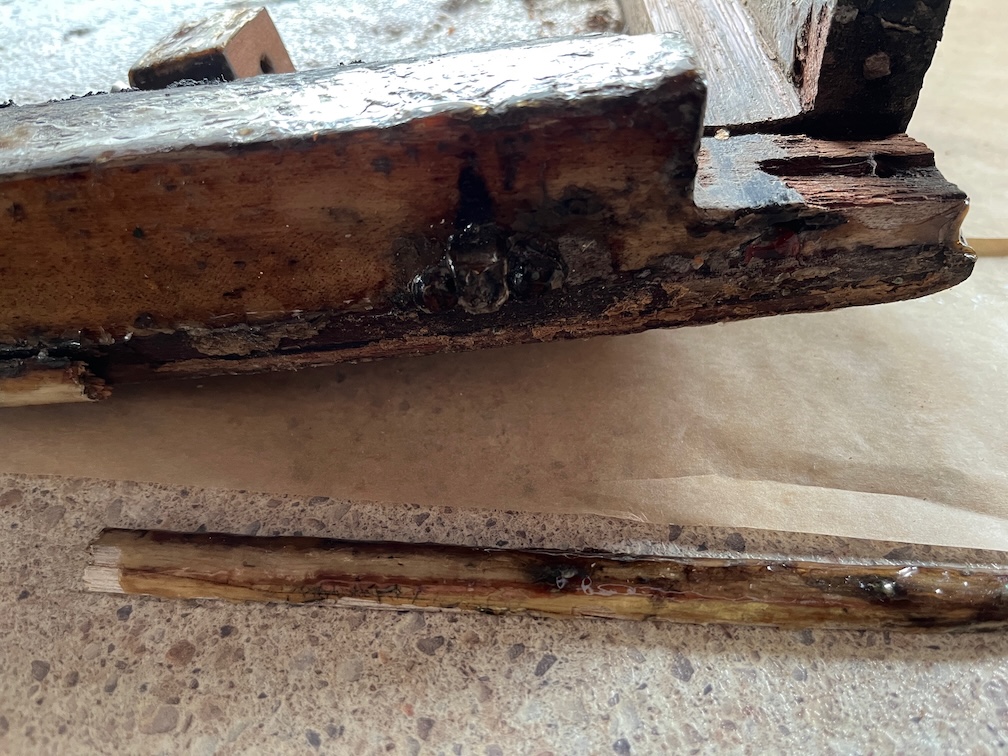
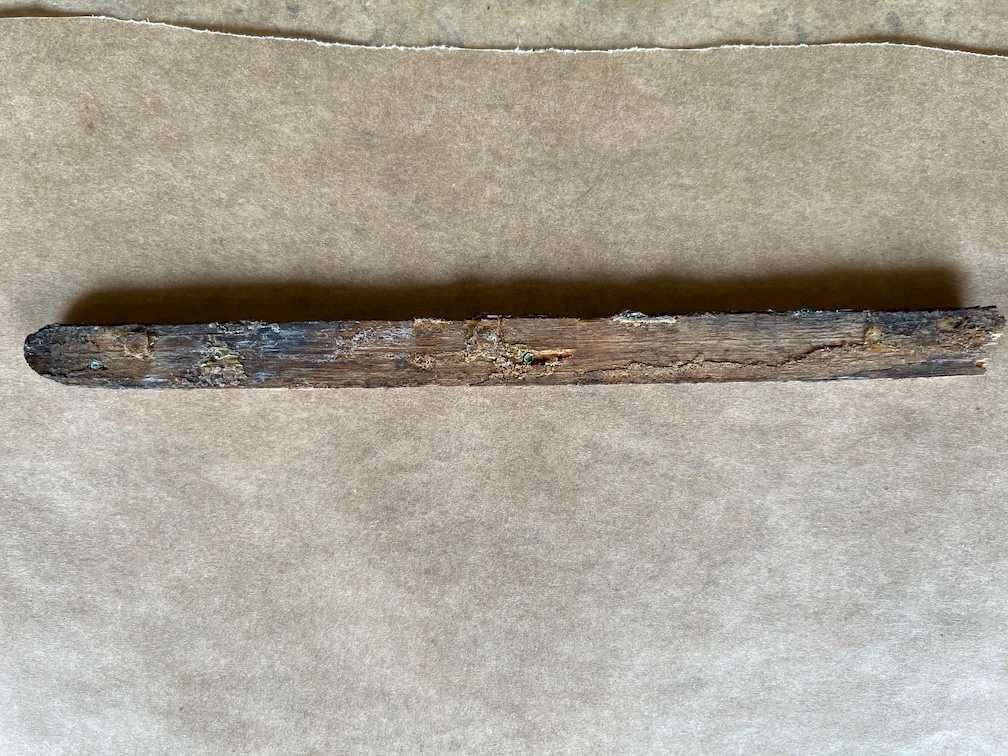
A couple of pieces came off the hatch during the fitting, one was an existing repair where the glue had cracked and the other, the thin piece you a see here, came off as the glue and the varnish had cracked, and the brass panel pins had turned to copper.
It looks as though this happened some while ago that there is water damage to the wood in the joint.
No matter, both pieces will be put back in place with epoxy. The original repair requires some gaps to be filled but one pump of thickened epoxy will be too much for just that repair, so I’ll use some of the remainder for the trim piece.
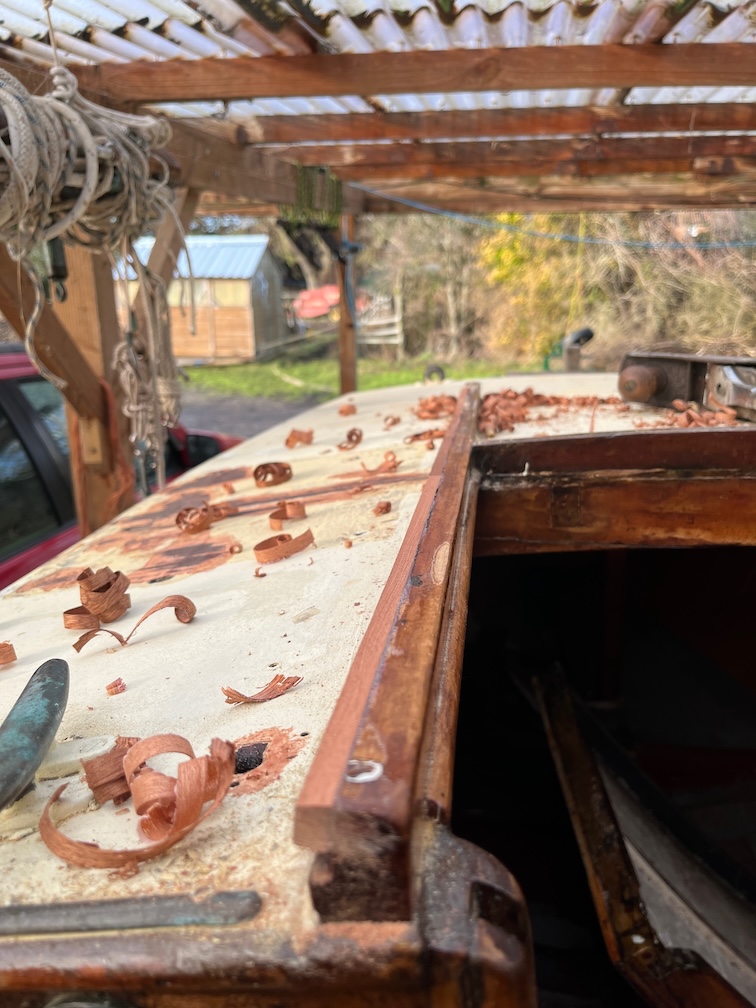
Once these pieces have been repaired I’ll need to take some fairly aggressive sandpaper to the varnish as there are loads of layers and water has gotten under and started to lift it in places. Some parts of the build up are so thick that they are fouling the runners still so it has all got to be sanded down, in places back to the bare wood.
Most of this is due to the previous owners not taking the hatch off for the annual revarnish. Instead the varnish was applied with the hatch in situ. How do I know this? Because on the undersides of the side runners on the hatch show drips and large blobs of varnish showing that the varnish was applied upwards and the varnish has sagged due to gravity. ln some of the harder to reach parts show little or no varnish.

Here’s an example. This is the underneath part of the side of the hatch. You can see where the varnish has dripped down the side and then under the hatch and also areas of the wood that have little or no varnish at all.
No matter, it is easily sorted out and in future I just have to remember that the hatch needs to be removed to get at the awkward parts and not varnished willy-nilly.
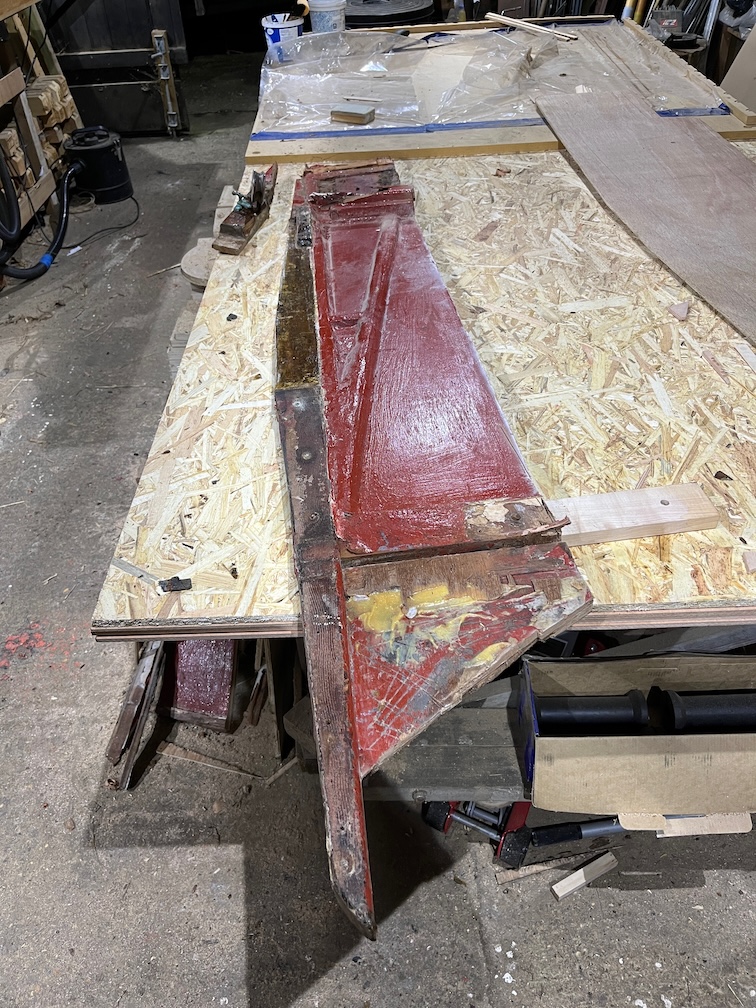
After work I turned my attention to the port side of the centerplate case. This has got to go.

It took a bit of effort since I could not kneel down on the port side of the cabin as I could on the starboard side due to the lockers, but I managed to get it all cut off. It is not cut down as far as the keel, I decided that since access was a bit restricted I should cut the side just above the runners that sit on top of the keel and then I would have a lot more access to remove the runners down to the keel.
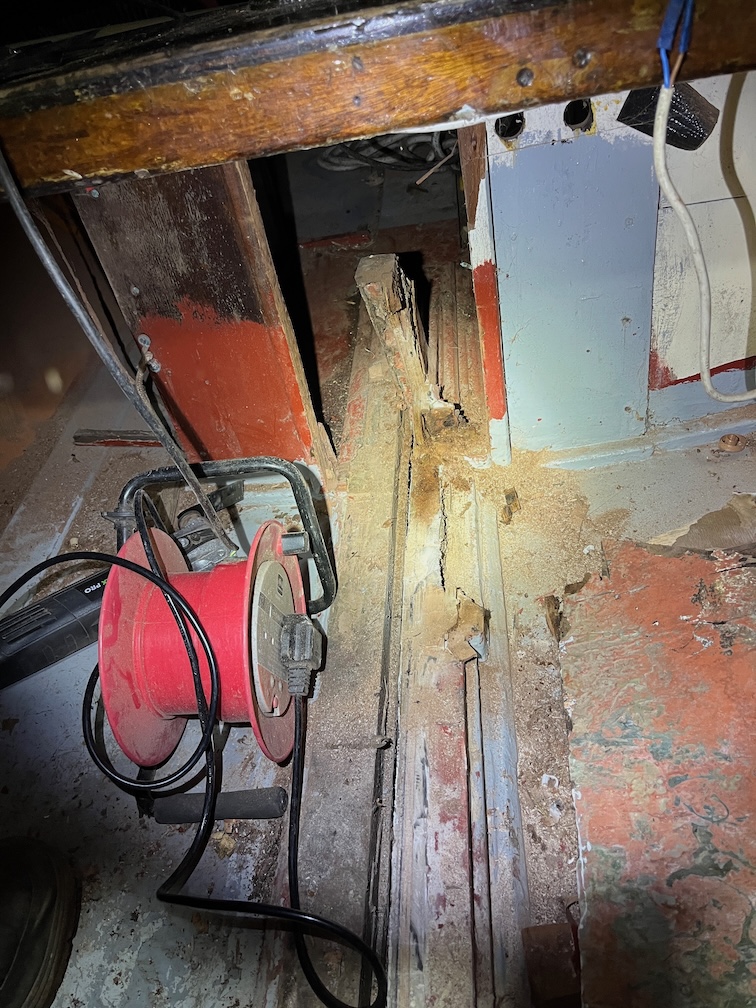
I was pleased to have done the wiring and lighting by this stage since doing this without the cabin light would have been quite awkward. Probably not impossible with a good torch, but a lot more troublesome.
Not only was the access to the aft part of the side more restricted than in the cabin, but there was a locker and a stronger upright in the way.
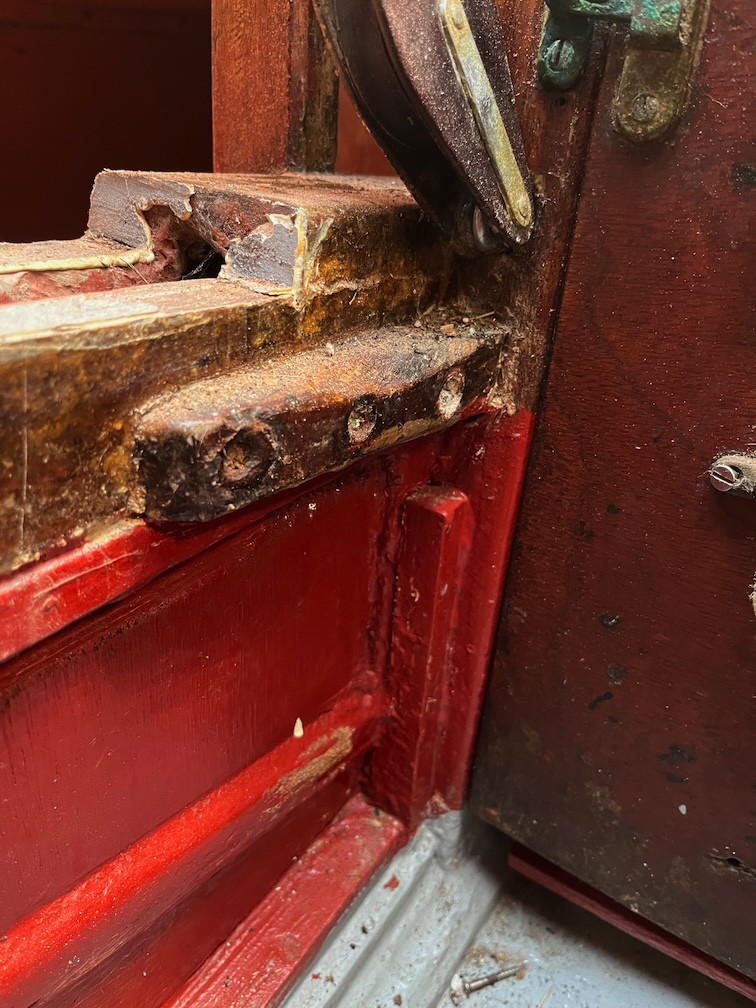
The reason for this is that the block for the centerplate uphaul is attached to the upright and therefore it has been braced to resist the force.
With the side now out of the boat I can set about removing the top runner of the side and clean it up before putting it onto the new centerplate side that is ready to be completed.
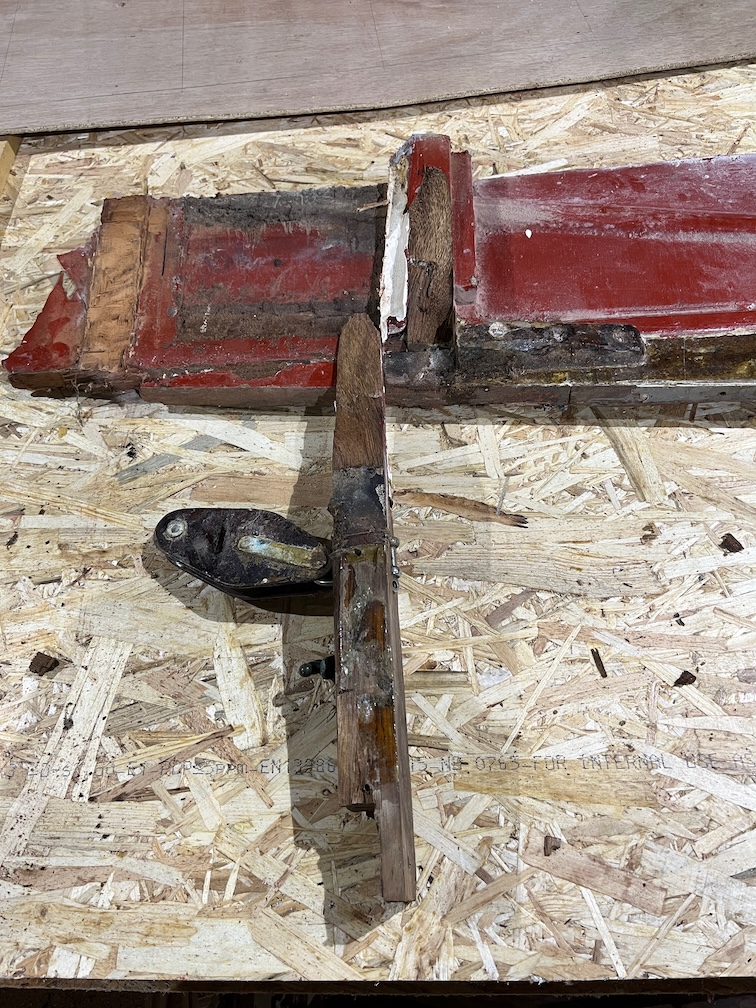
The upright with teh block broke during the removal, so I need to decide whether to repair it or replace it when I reassemble the case inside the boat.
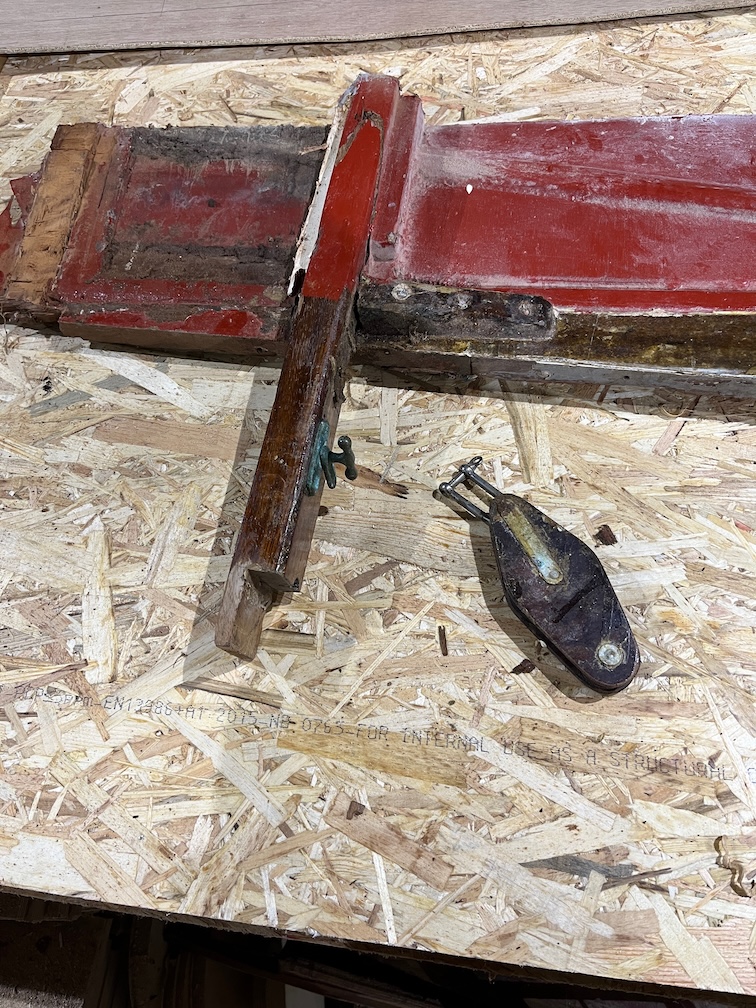
For now, I’ve removed the block and will put the pieces aside and the next time I do any epoxy work I’ll stick the pieces back together and see how it looks once that is done. Both this upright and the one on the other side will need some modification before being refitted. That is a job for another day in the future.
A successful day as far as Shoal Waters goes and despite the cold start to the day, the trips outside during tea breaks have been very pleasant due to the sunshine and calm conditions. The pleasant and dry condition mean that each small task I undertook during each break was carried out quickly and without having to return inside every five minutes to warm up my hands, as was the case during last weekend.
Time for a cup of tea.