
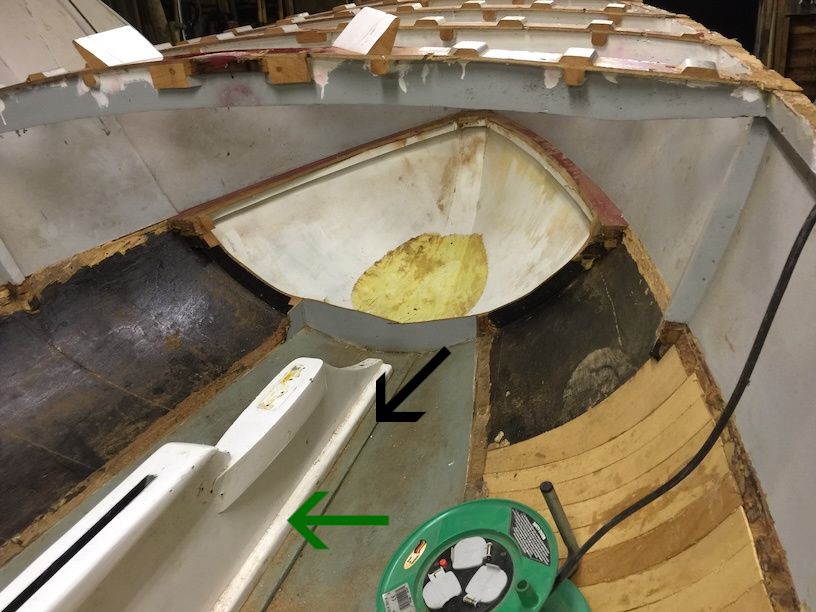
The title of this post is a little misleading, since what I’m trying to find is where the soft/rotten wood in the centerplate case ends.
In the above photo you can see where I have cut more of the side of the case away and exposed the diagonal end block. I think I have left just one veneer of the plywood on this block and it was very difficult to remove indicating that the plywood here was in good condition. I removed as much as I did so that the new sides will have a significant overlap and therefore a very good seal when it is installed.
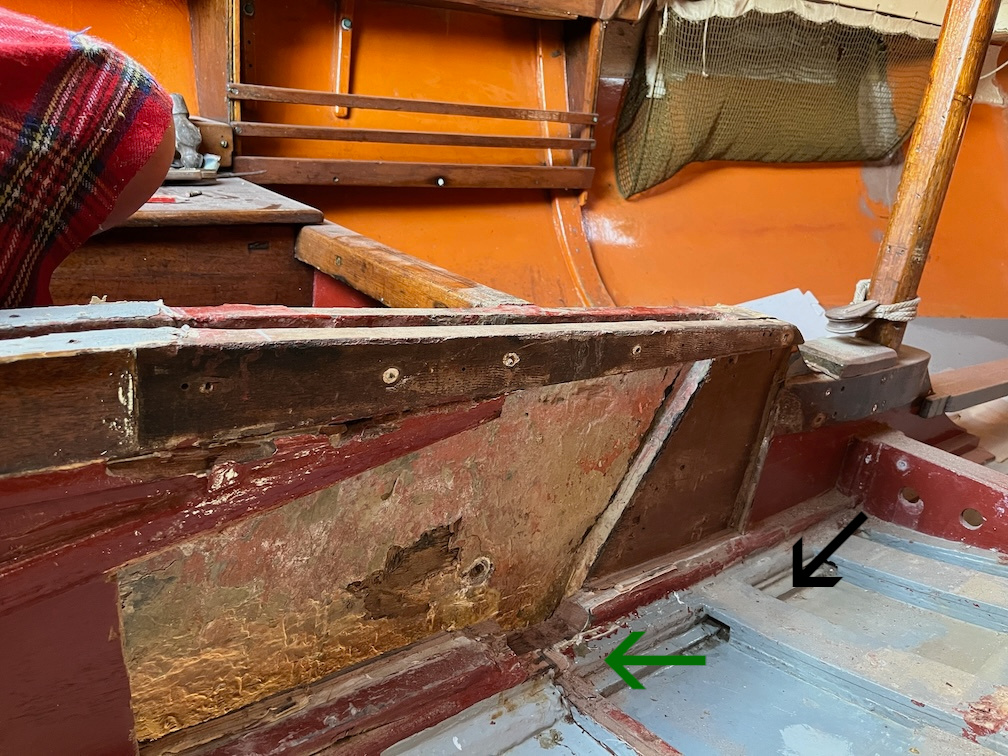
The black arrow points to the top of the keel and the green arrow points to a rounded piece of wood placed next to the case side and on top of the keel.
Contrast that with the same area in Naiad (more or less). Again the black arrow points to the top of the keel and the green arrow to the rounded bit. From the Naiad photo it is obvious that the side of the case goes down to the keel at the least and the rounded bit is there to strengthen the joint and to provide a good area for sealant.
But in Shoal Waters there are two rounded bits.
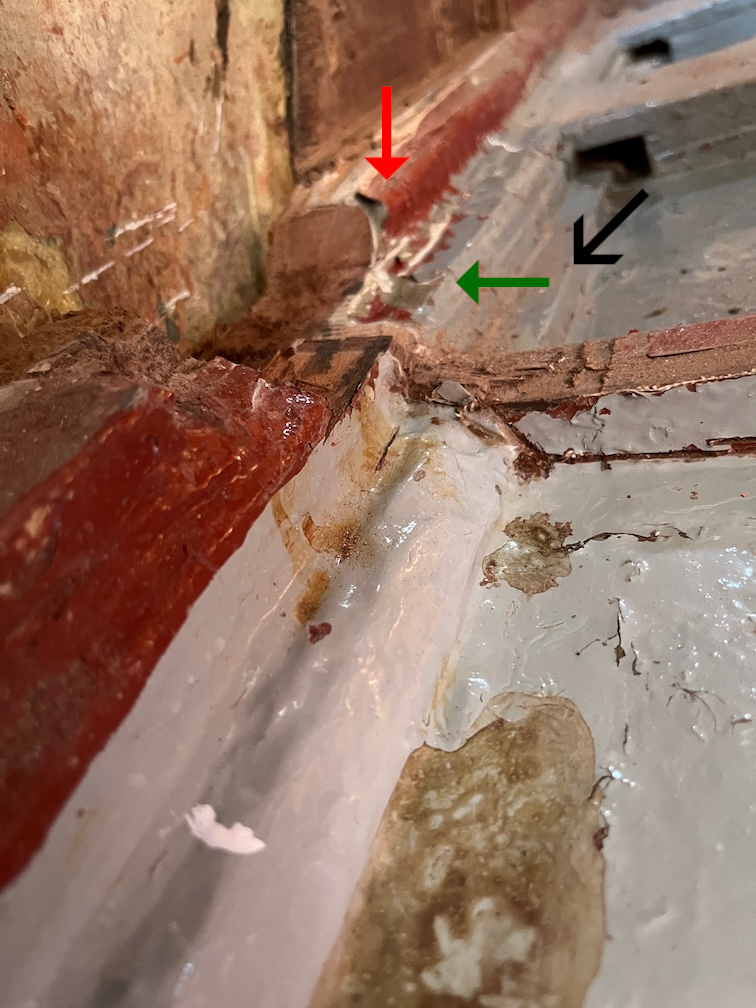
Here’s what I mean. The black arrow points to the top of the keel, the green arrow points to the first rounded bit, equivalent to the one in Naiad and the red arrow points to the extra one. Now, was this original or put in by Charles Stock or Tony Smith? I don’t know but I need to find out how far down the plywood goes so that I can cut away the plywood but nothing else.
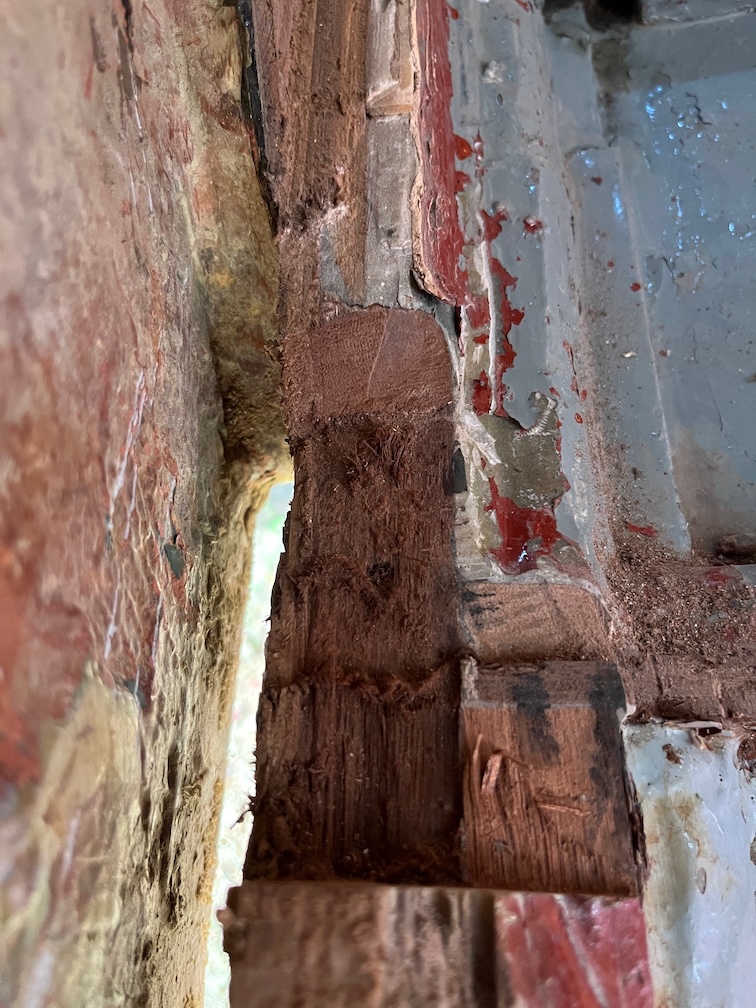
I’ve cut away a section out of the top rounded bit but it isn’t clear if the plywood extends this far or not. I’ll let the wood dry and clean it up with a sharp chisel. Hopefully that will show up the demarcation between the plywood and the Mahogany (?) rounded part.
Once that is done then I can carefully cut away the plywood and leave the rest untouched.
Before I go too much further, I should really measure the position of the pivot bolt hole. I’m doing all the exploratory work on one side only chopping away willy-nilly to find out the extent of the plywood. However, when it comes to the the other side I’ll know where cut and should be able to get the side out in one piece. More or less. That’s the plan anyway. That will allow me to use that side as a pattern for the new sides. However, I’ll still make a pattern as best I can once this side is removed just in case the other side doesn’t come out cleanly.
Time for a cup of tea.