The next part of the centerplate case replacement is a bit technical, apologies for that, but has to be done before I cut away any more of the case itself. The first task is to measure as much of the case as I can and draw it out.
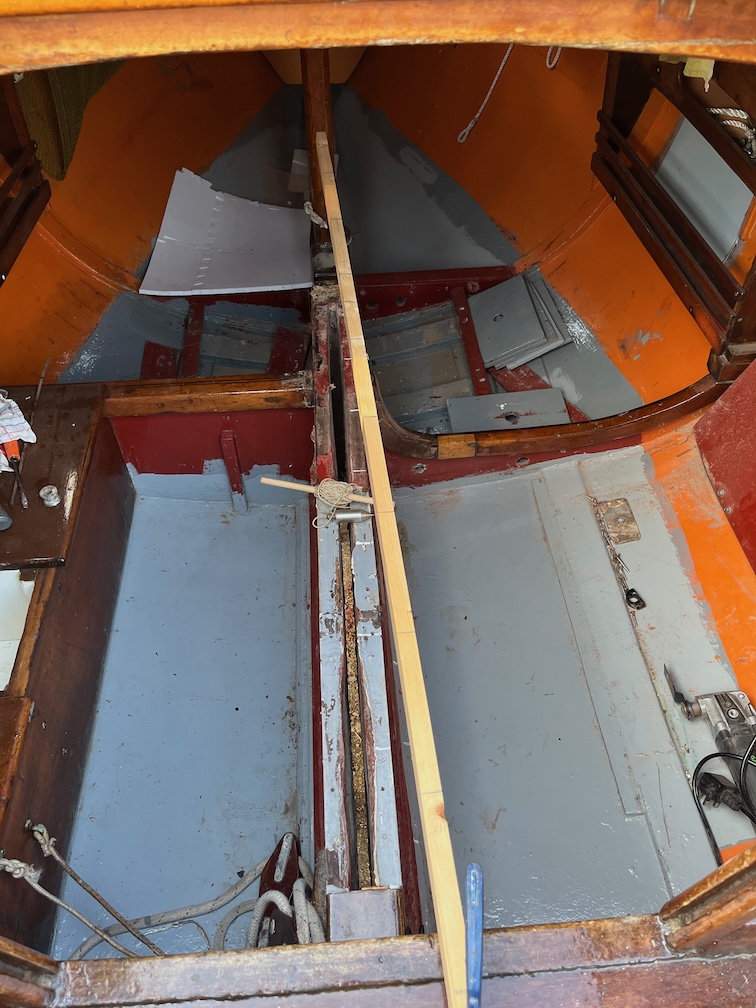
I marked a straight batten and 150mm (6″) intervals and then clamped it to the bridge deck such that the forward end was directly above the forward end of the case using a plumb bob to get that lined up.
Then I hung the bob from each of the marks on the batten in turn and made a mark with a white pen on the top of the case and on the bottom.
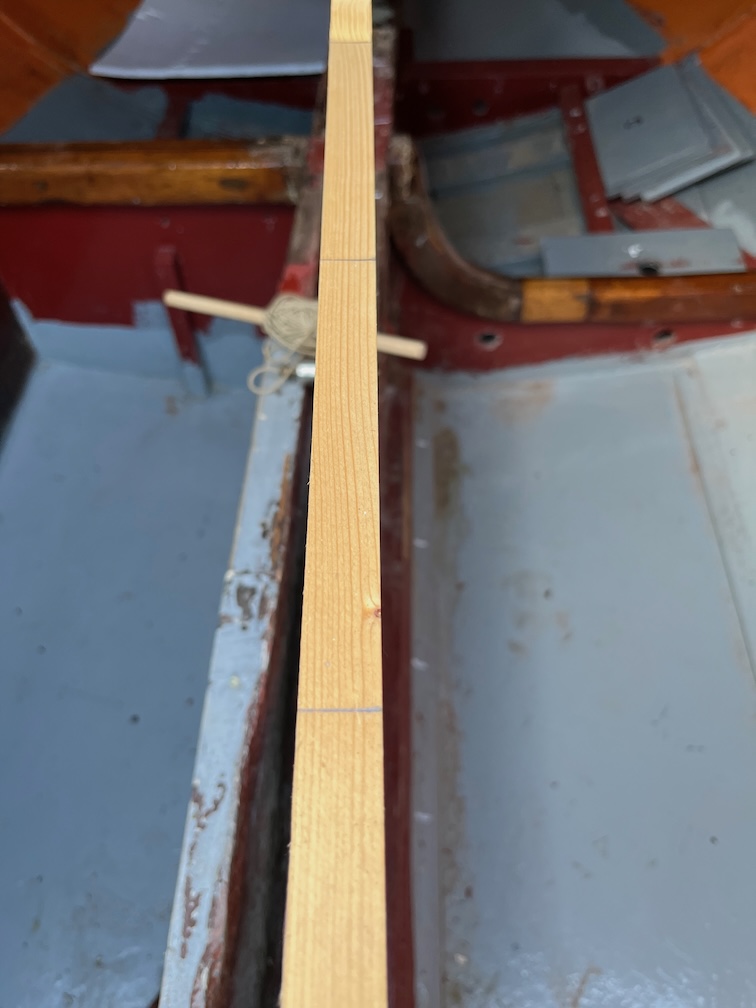
The marks on the batten.
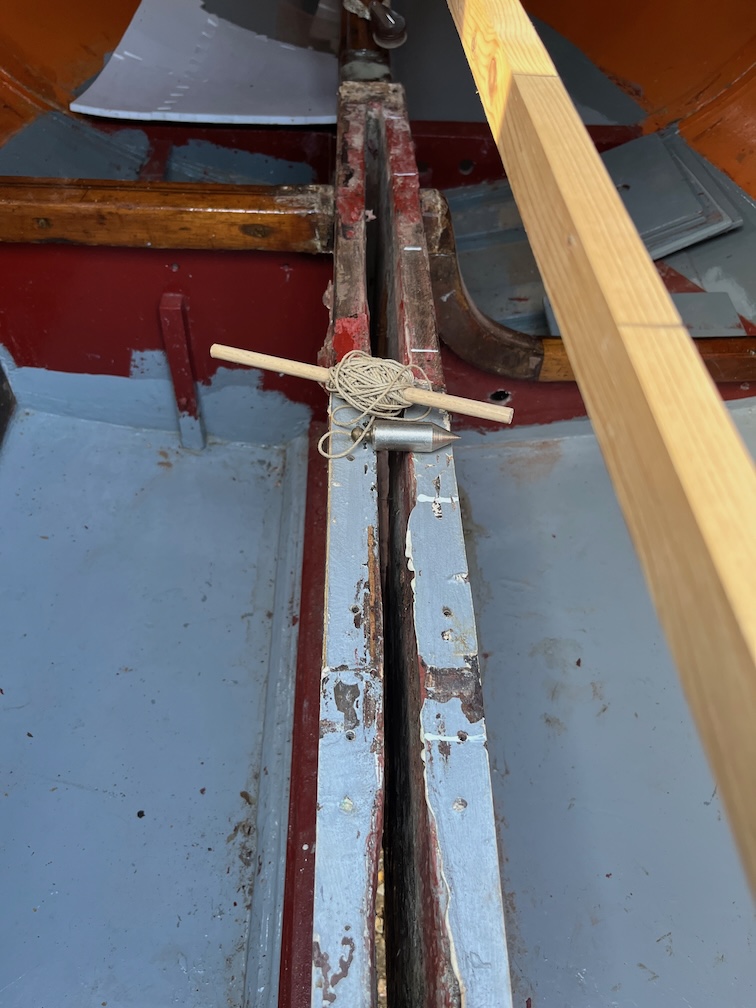
The marks on the top of the case.
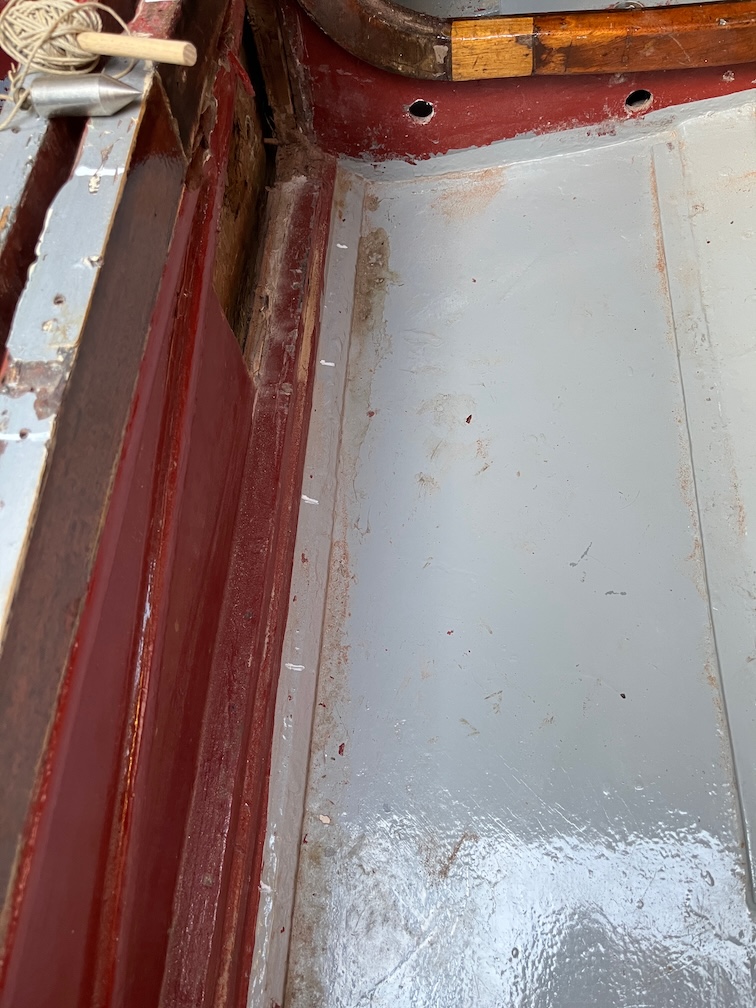
And the marks at the bottom.
The final part of the measuring was to measure from the batten to the top and bottom marks and note these down. At this point it doesn’t have to be precise, with 5mm is close enough for now. Just as well as it’s really hot in the boat and I’m not really that limber, so it’s a bit awkward.
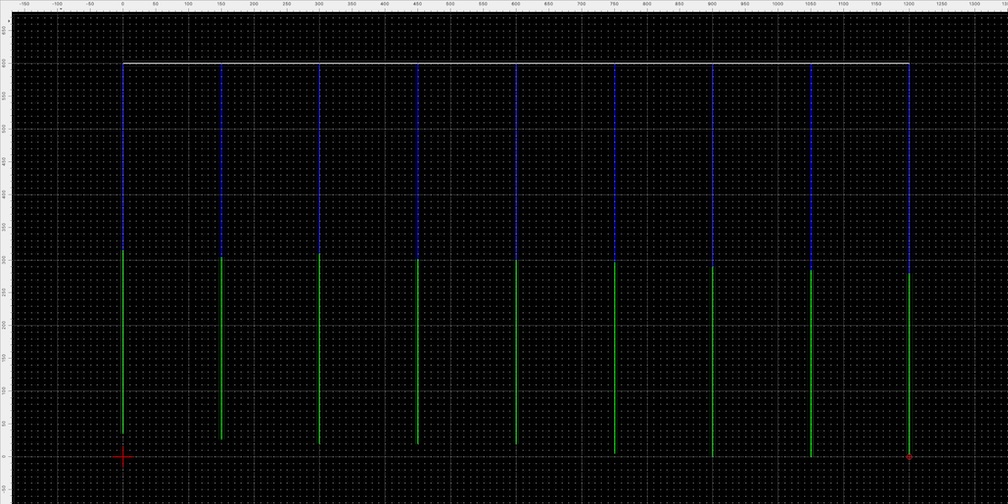
I then drew out the measured line in QCad, the drawing program I’ve used for years. The white line at the top represents the batten, the blue lines are the distance from the batten to the top of the case and the green line are to the bottom.
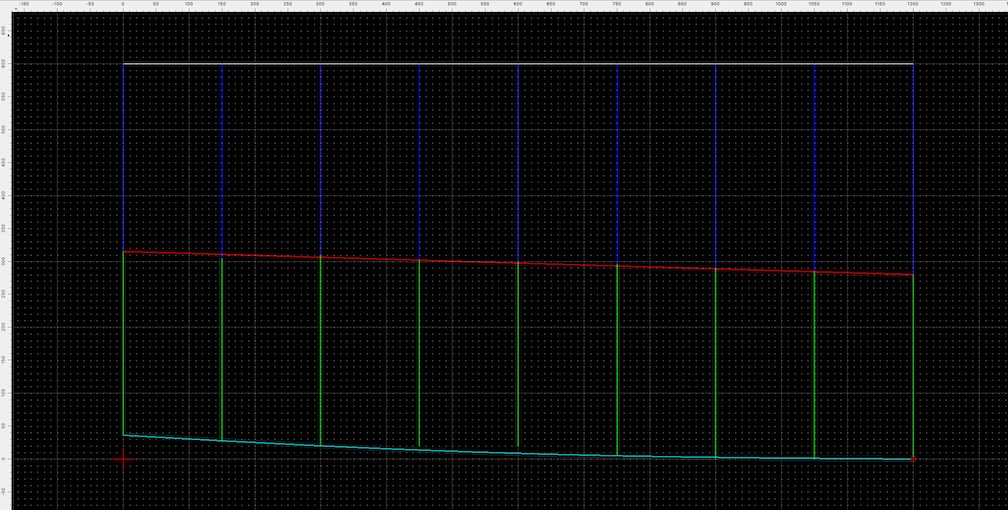
Then I added a straight line at the top of the case (in red) as I think this is straight on the boat, I’ll have to check, and fitted a smooth curve to the lines showing the bottom of the case.
Now, my CAD program shows me that this much of the case can be cut out of a piece of plywood that is 1210mm long ad 290mm wide. This is good news since quality marine plywood is sold in sheets that are 2500mm long and 1220 mm wide.
Now for the tricky bit. The original case was made from two 7mm thick pieces of plywood laminated together for a total thickness of 14mm. I can’t buy plywood of that thickness, so I have the the following choices. Three laminates of 5mm for a total of 15mm, two laminates of 8mm for a total of 16mm or a single sheet of 15mm thick. I did consider two 6mm laminates, but this will result in a case that is 2mm thinner than the original and although it would probably be fine, I’m not happy about making it thinner so I discarded that idea in favour of making it thicker, and therefore stronger.
I want to cut the pieces on the CNC router so that I have accurately cut, identical pieces, and since my router table is 1270mm x 1270mm square, I’ll not be able to cut a single side at a time as the entire case will be around 1800mm. The above drawing only goes as far as the start of the cabin whereas the case itself protrudes into the cockpit. But this section is certainly not so tall as the rest, so for the purposes of deciding how much plywood I need I only really need to find the tallest part of the case.
So that eliminates the 15mm thick plywood and I’ll have to cut shorter sections and glue them together. The choice between the three 5mm sheets and the two 8mm sheets comes down to the cost. Two sheets of 8mm ply will cost a total of £265.80 whereas three sheets of 5mm will cost £342.18, a significant difference.
There will be plywood to spare after cutting the case pieces out and these will be used to replace the bulkheads that reinforce the case.
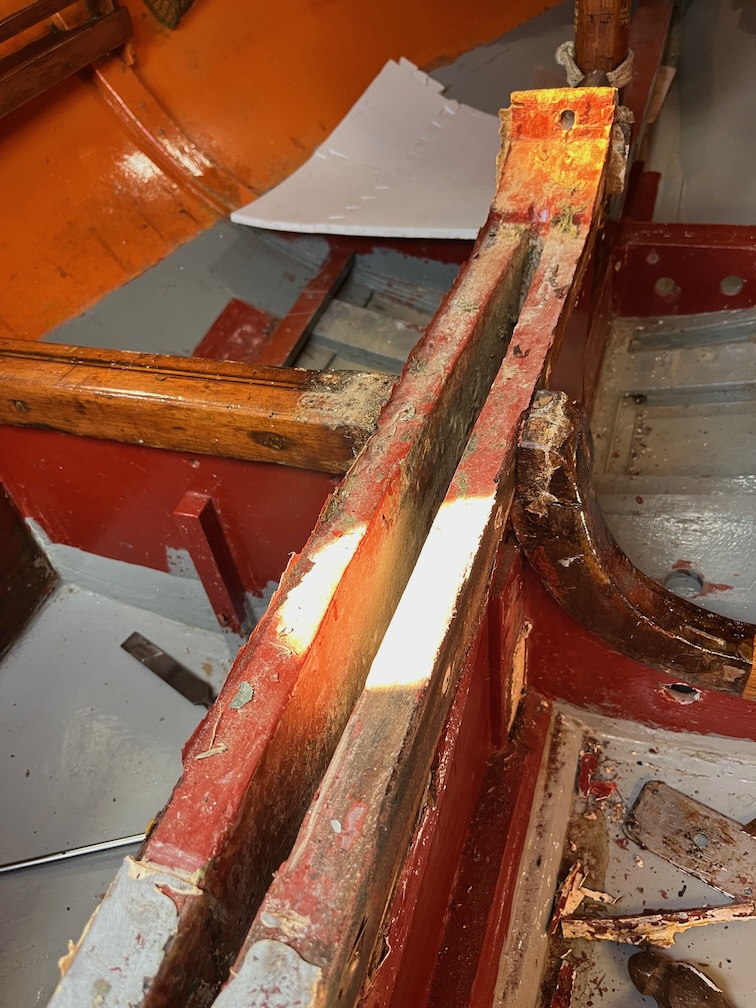
These can be seen in the above photo. Cutting these away will destroy them no matter how careful I am, so these will be replaced. They have to be removed as otherwise I’ll not be able to cut the case away from the keel.
The next part of the decision making is how to laminate the pieces together. I’ll join the parts together lengthways using what is known as a puzzle joint since trying to cut a scarf joint in 8mm ply is far beyond my capabilities and as the sides of the case do not bend, a scarf joint would be an overkill. A simple butt joint would work but the puzzle joint increases the glueing surface greatly and that results in a much stronger joint.
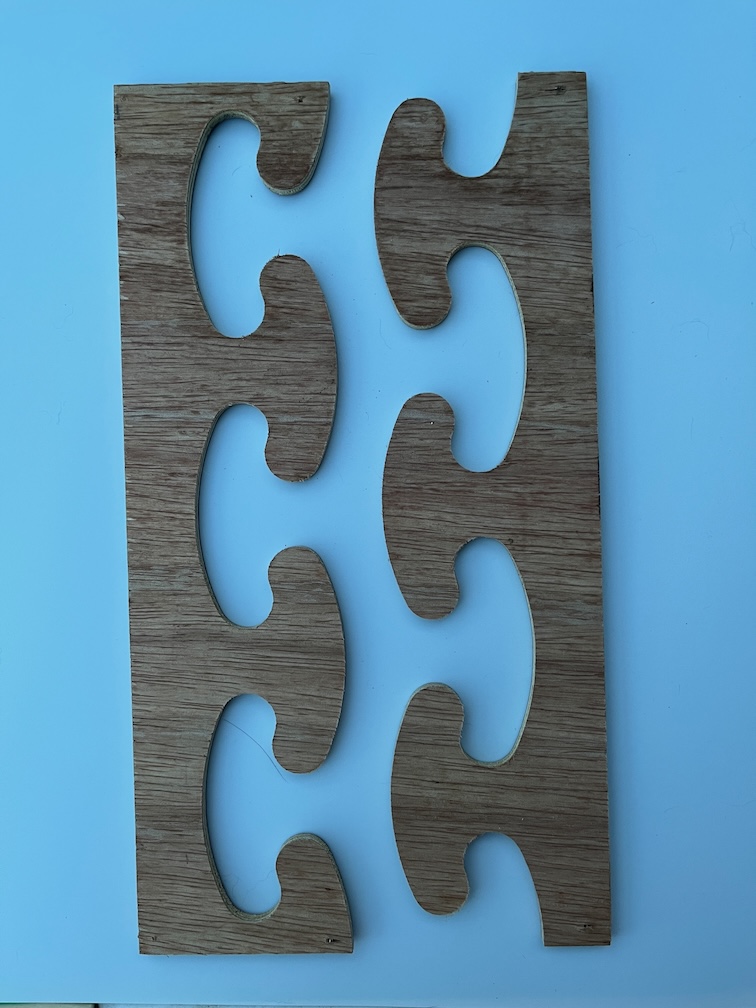
Here is an example of a puzzle joint that I made when trying out cutting the joint on the CNC router.
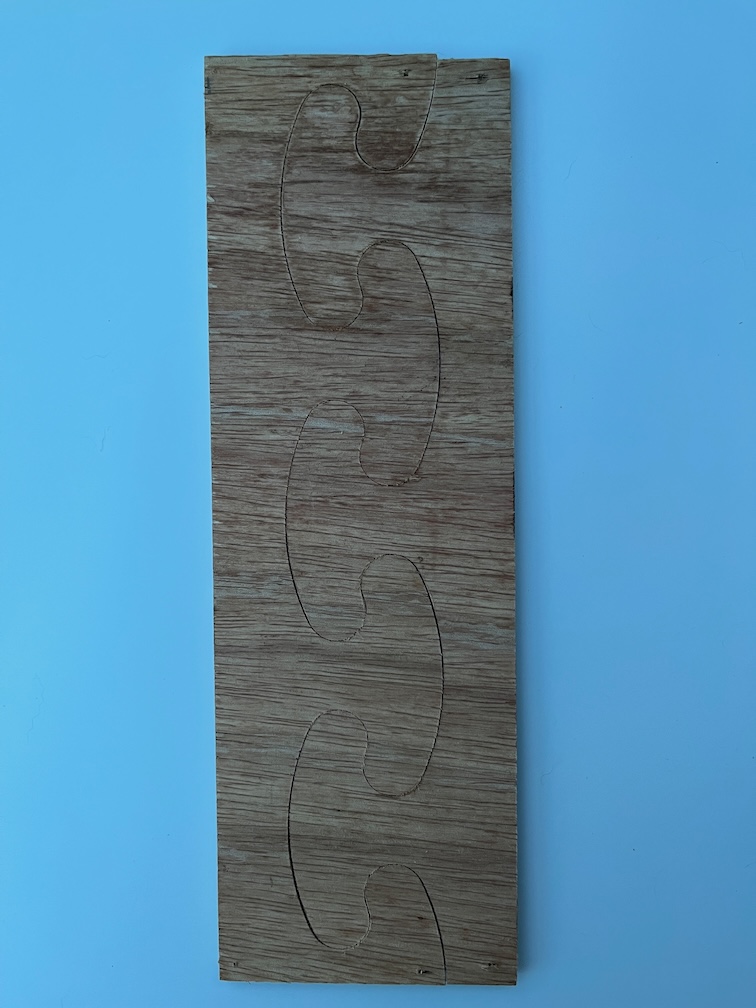
And here is the joint put together. As you can see, it’s not only a very good fit but is self-locating in that it won’t pull apart even without any glue in the joint.
So, that takes care of joining the pieces together but laminating them is another issue. The join between the two laminates much be perfect. No skipped areas of glue and no voids and there is really only one way to do that for a hobbyist and that is a vacuum bag. You get a piece of plywood around 25mm or an inch thick that is flat and slightly bigger all round than the laminates which are glued together and pinned so that they don’t slide over each other You put the laminates on the thick flat piece, put the whole thing into a plastic bag and suck all the air out. This forces all the pieces together and since one of them is thick and flat and won’t bend whereas the others, which are thinner and will bend, the laminates are pressed against the flat bit and will also be flat once the glue dries.
That’s the hand-waving, brief description. You’ll see how it works when I get to that bit and take photos.
Anyway, for now the technical bit is done and I can proceed with the removal of the rest of the damaged case.
Time for a cup of tea.
