I started looking at the navigation lights as I need something small to be getting on with since I have hurt my right foot. When I get tired I make mistakes and last week the mistake involved the foot and a solid metal support meeting at a high enough relative velocity to break open the wound remaining from the surgery a few months ago. So, no kneeling down on the inside of the boat trying to work on the centreboard case. I’ll have to wait until I can comfortably flex the foot before continuing with that.
One of the things I’ve done as part of the refurbishment is to buy LED replacement bulbs for the lights to cut down on battery drain.

This is the original bulb, fairly standard.
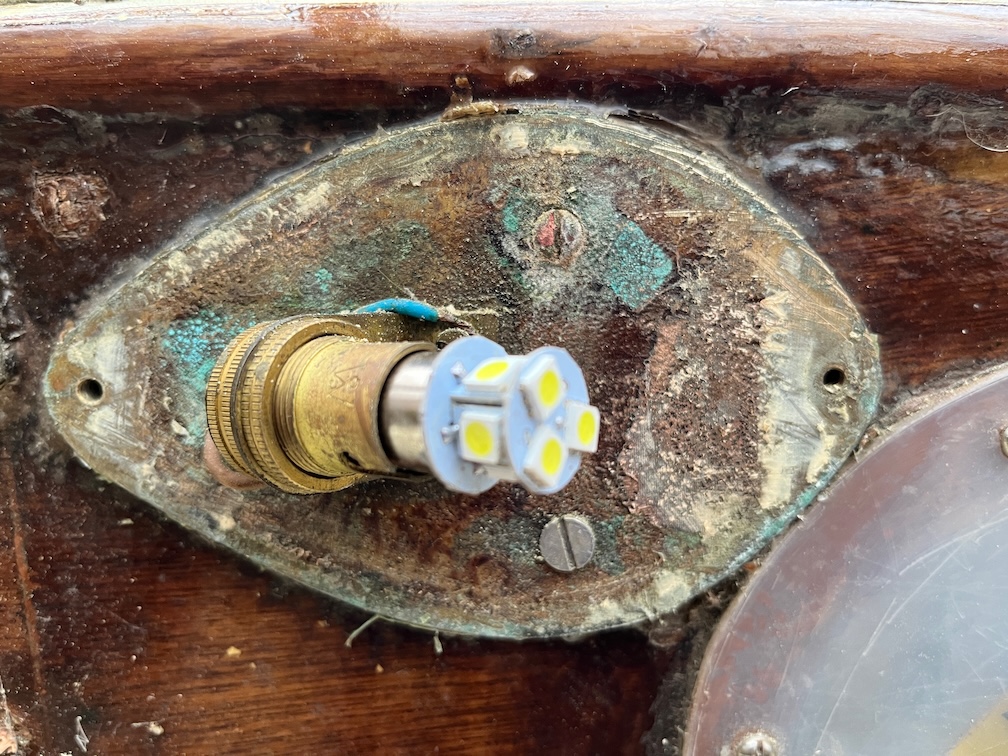
And this is the new LED bulb. It occured to me that the back of the light, as you can clearly see from the photo, is not at all reflective and thus the nav lights will be dimmer than they could be. I asked on the Dinghy Cruising Club Forum, of which I am a member, for suggestions and these boiled down to two main options. Crumpled aluminium foil and a plastic mirror cut to shape, both of which are possibilities for the tools I have.
However, before I test out these options, I really need to do something about the fixings. The two bolts holding the base plate to the cabin side need to be removed. One is brass, well it was and is now copper, and the other is stainless. This is the same on both sides. Not sure why but they need to be taken out. The ex-brass one to be replaced and the stainless one removed to allow the base plate to be countersunk such that the head of the machine screw does not protrude.
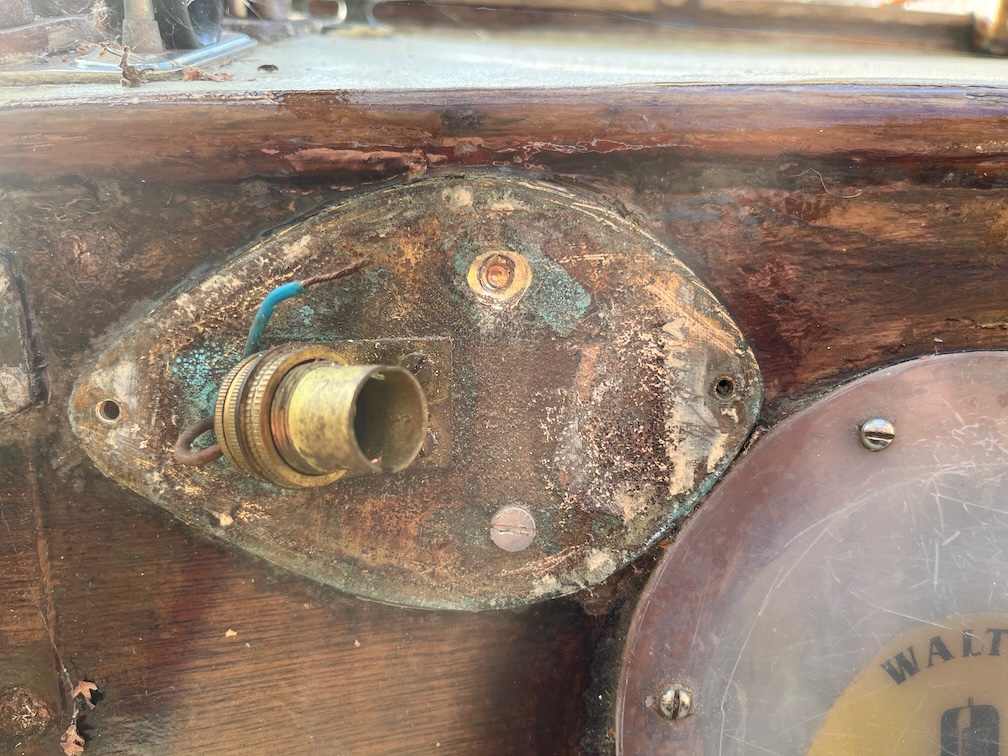
The head of the brass bolt was drilled with a shallow hole and then countersunk as can be seen here. A small diameter drill bit was used to drill a hole right along the length of the bolt and then opened up using successively larger diameter bits until the entire bolt was removed.
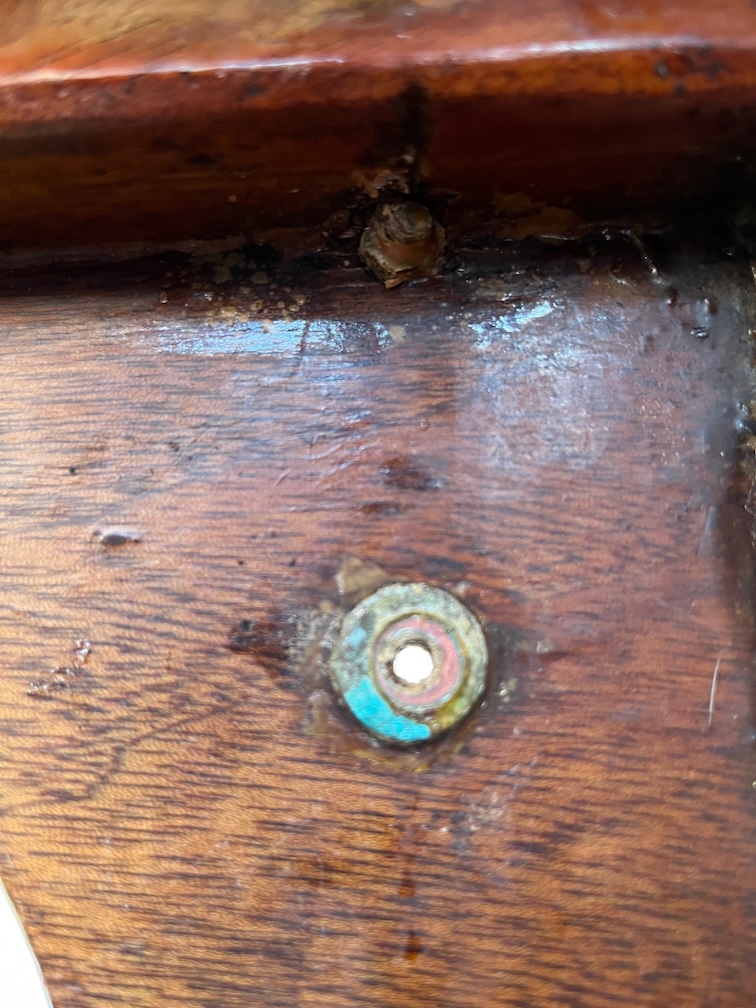
In this photo you can see that the lower, stainless steel bolt has been removed and the upper brass bolt remains.
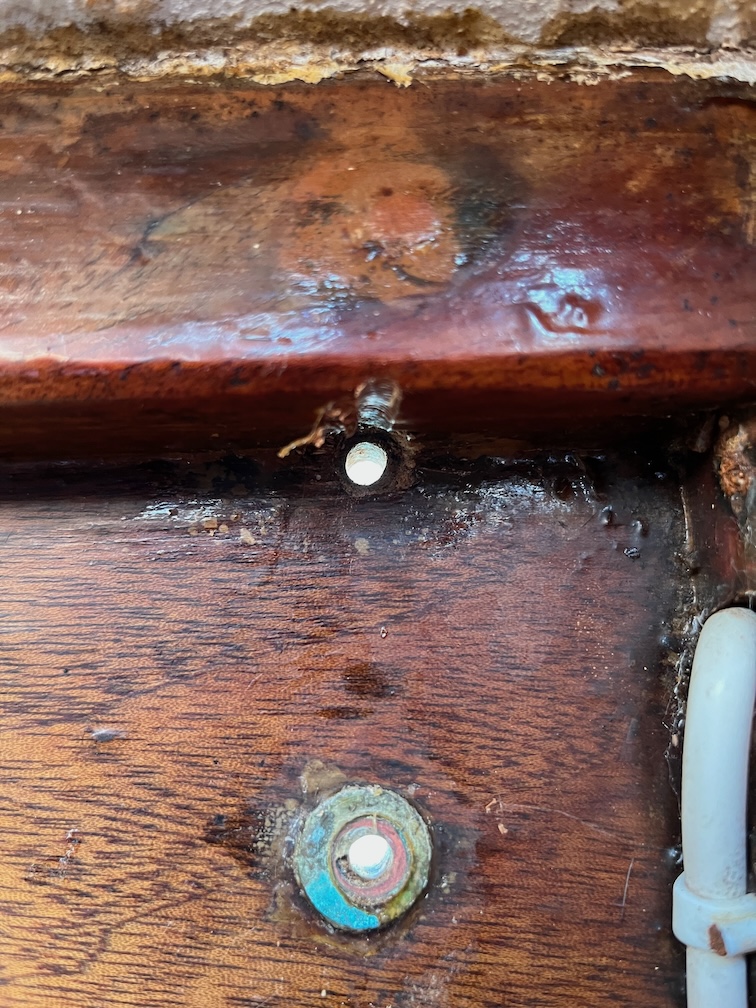
It didn’t take long to remove the upper bolt, just a steady hand to prevent the drill bits from breaking.
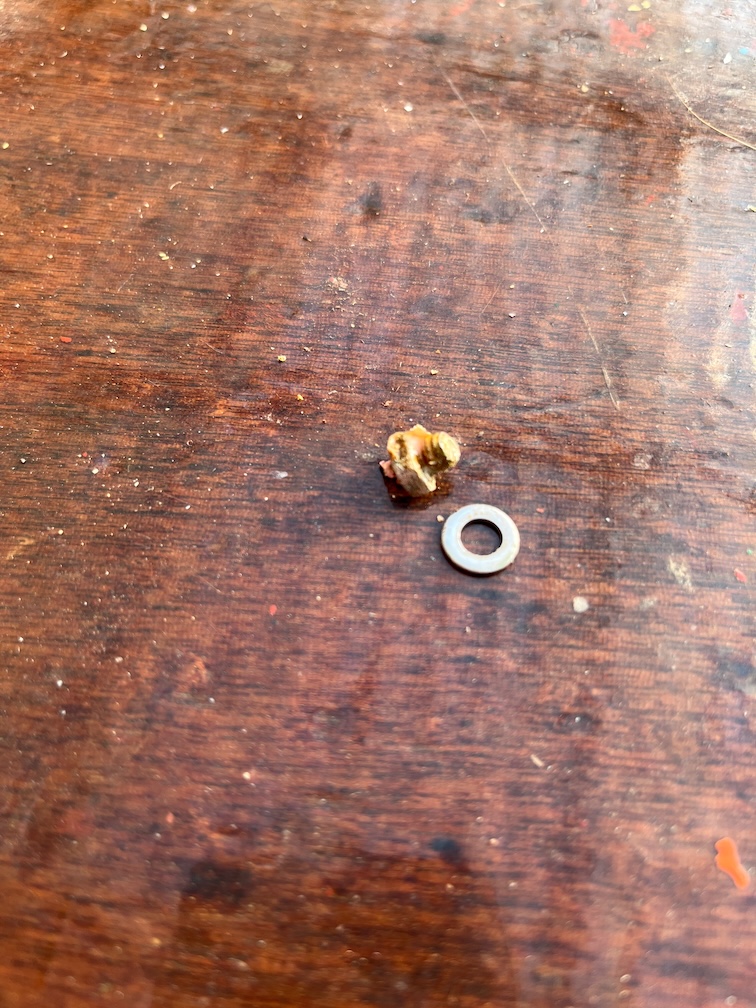
Here is the remains of the bolt, the nut and washer.

The nav light on the opposite side was done in the same fashion except on this side, the lower bolt was the brass one and the upper one stainless steel.
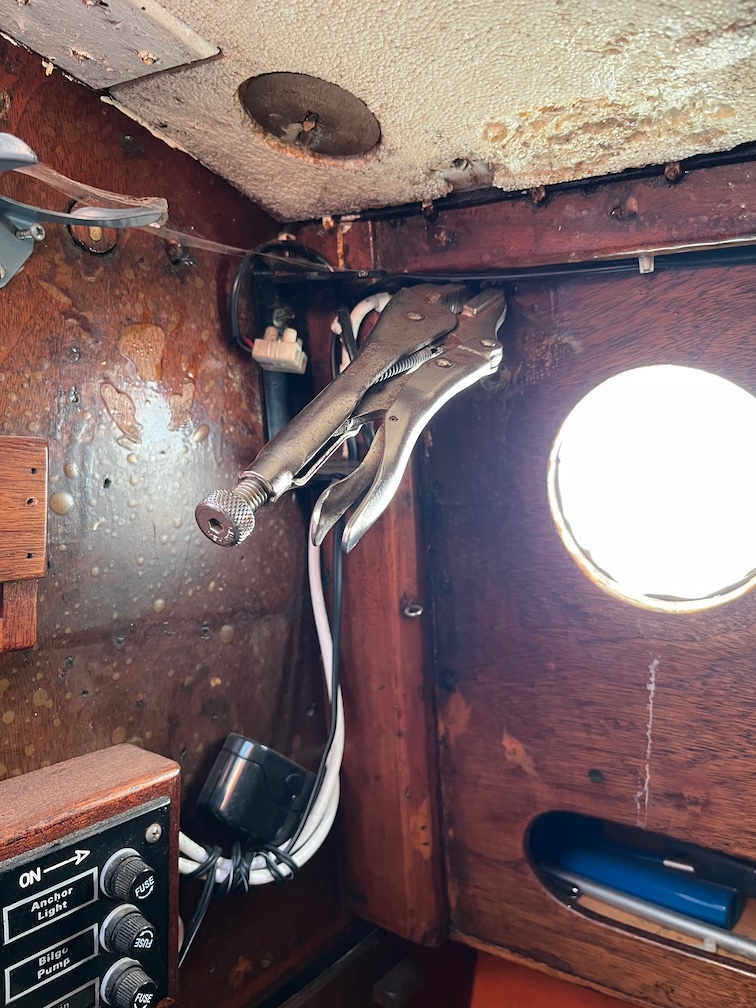
I used vice-grips on the inside to hold the nut whilst I unscrewed the bolt from outside for the stainless bolt, but the other one had to be knocked out. I did this on the first side as well but forgot to take photos.
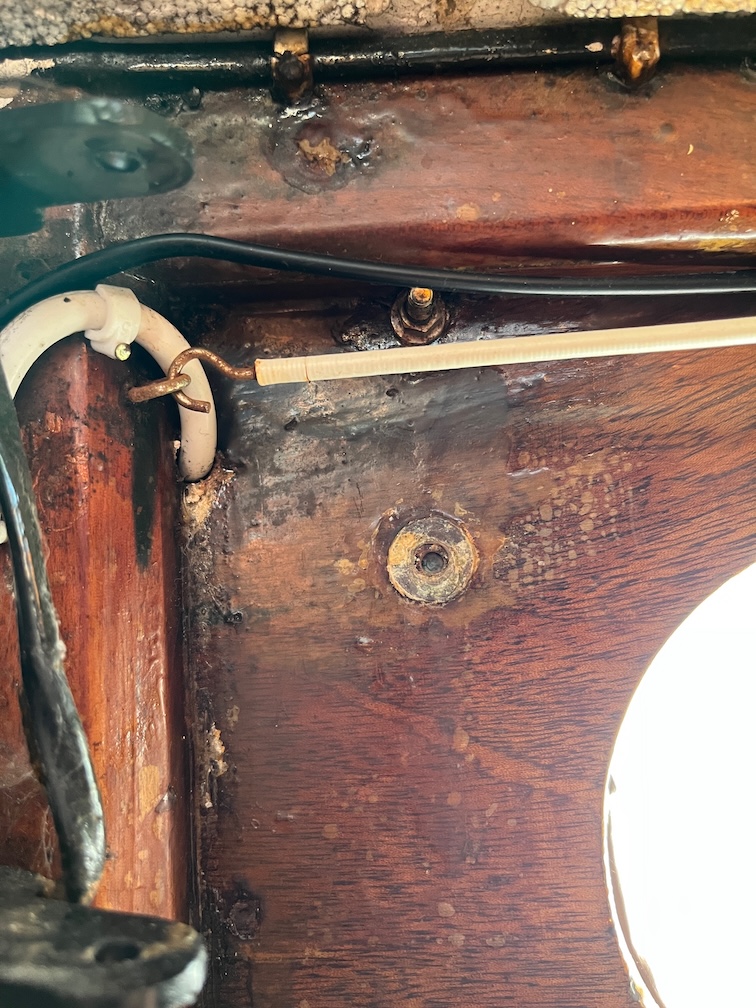
The brass bolt and nut had degraded into copper and at some time in the past it has been knocked off, as can be seen in the photo, just leaving a short length of the bolt in the wood of the cabin side.
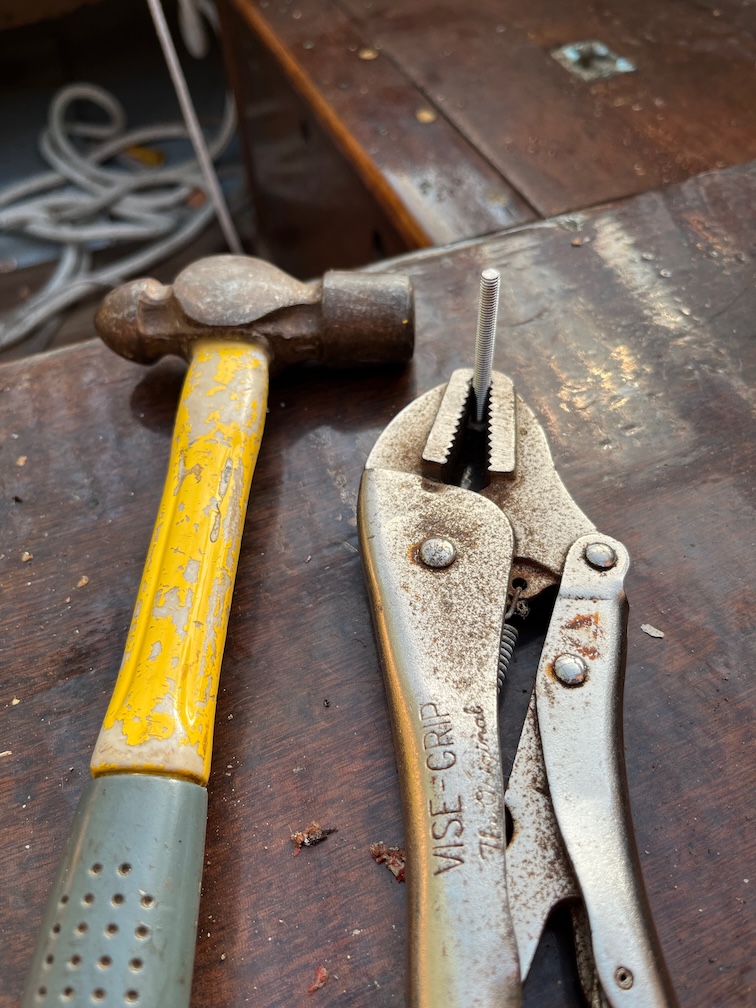
I used a bolt as a drift and gently hammered out the remaining bolt from the inside. The vice-grips are to stop me from hitting my hand which probably would have happened if I had held the bolt and tried to hit it.
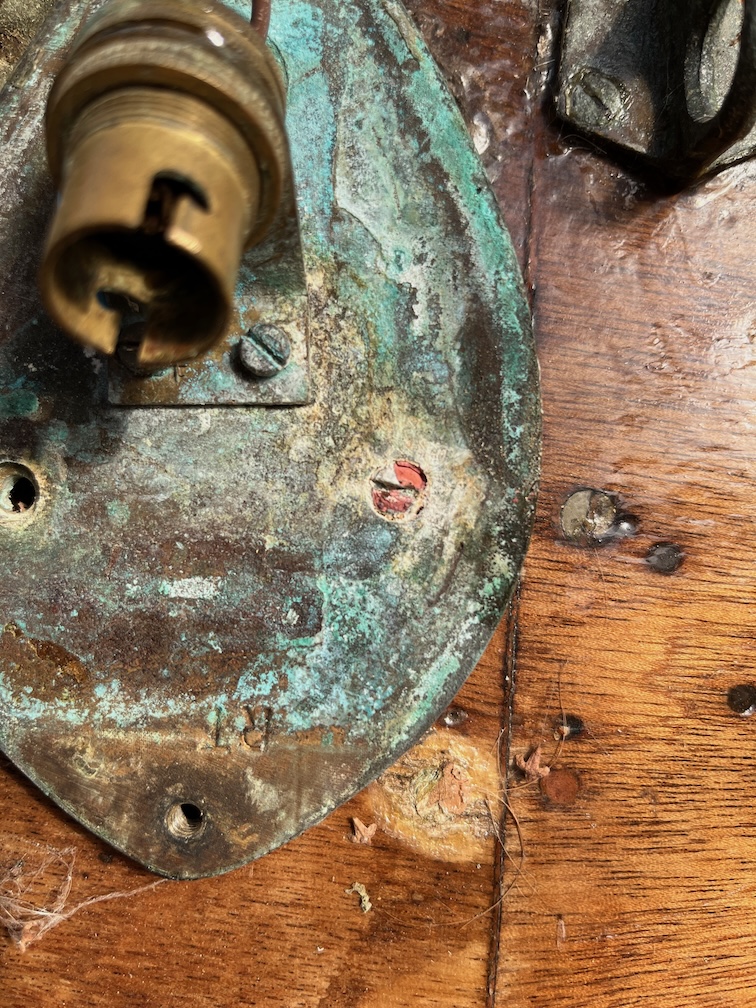
In the end, the bolt stayed in the base plate which itself came loose from the cabin side. Still, the copper bolt was easily remove with a gentle tap on the reverse with the hammer.
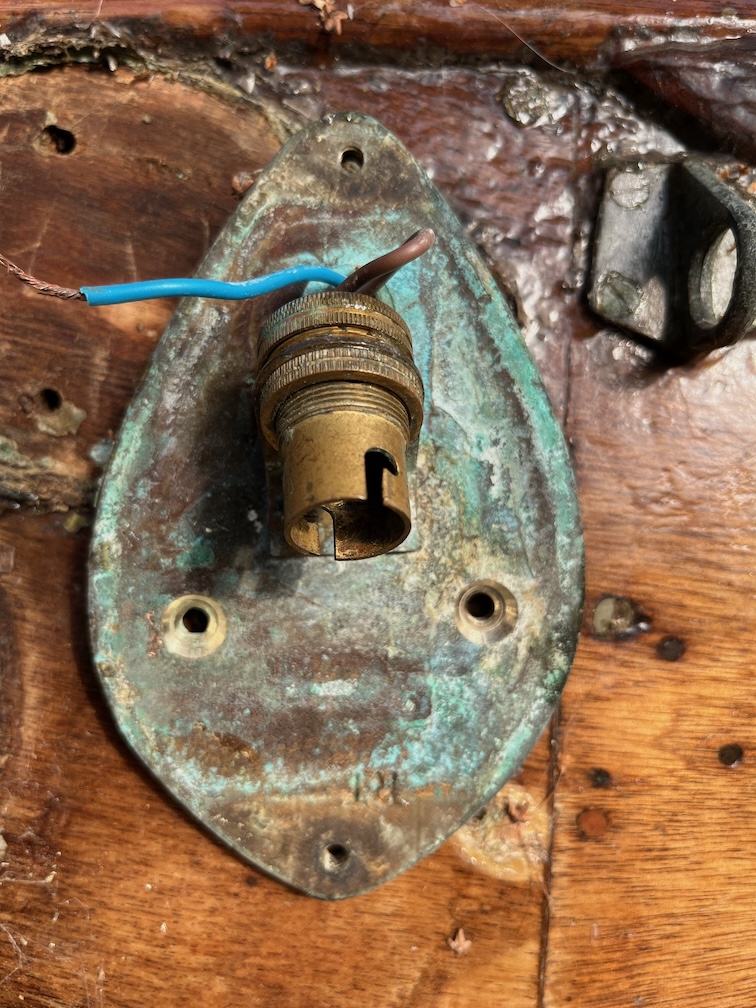
The two holes were then countersunk as you can see. I gently drilled the countersink, taking off a little at a time and offering up a machine screw of the correct size each time to check that I didn’t remove too much of the base plate. The other side was similarly countersunk, but you don’t need to see a photo of that as it’s more or less the same as this one.
So far, so good. I only had one machine screw of the correct size so the next thing to do was to order more. With that done I turned my attention to the outer casing fixings.
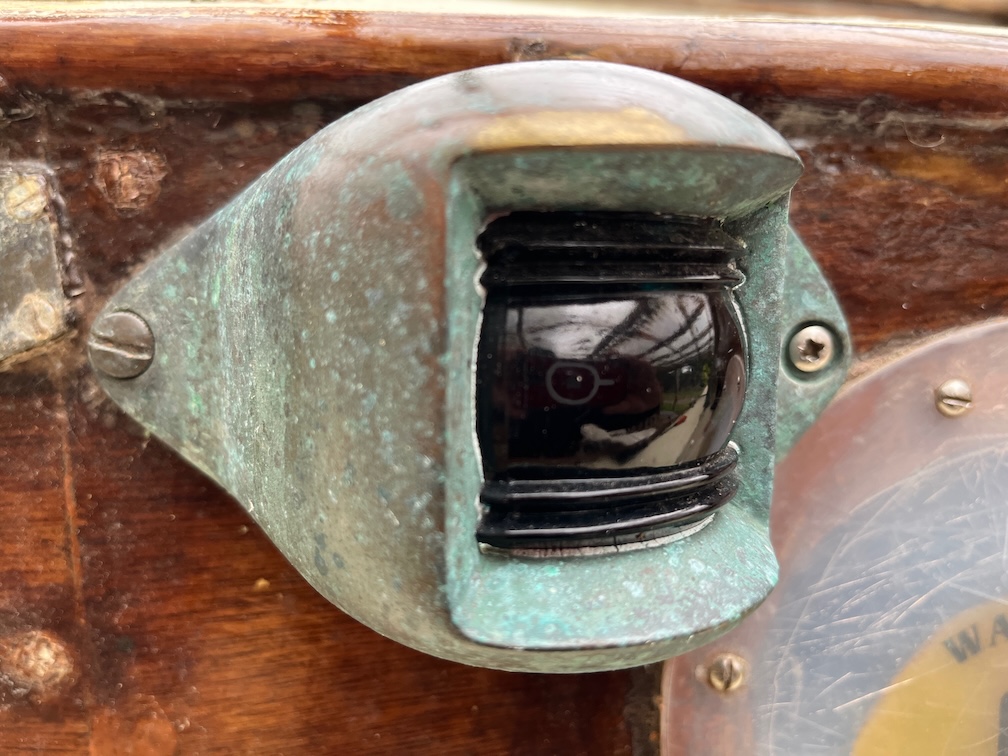
From the photo above you can see that one of the fixings is a knurled bolt, presumably original, whilst the other is a stainless steel wood screw that goes through both holes in the light and into the side of the cabin and this is the case for both nav lights. I presume that the lights had two of the knurled bolts each and that over time two had been lost and were replaced with the screws.
Time to fix that.
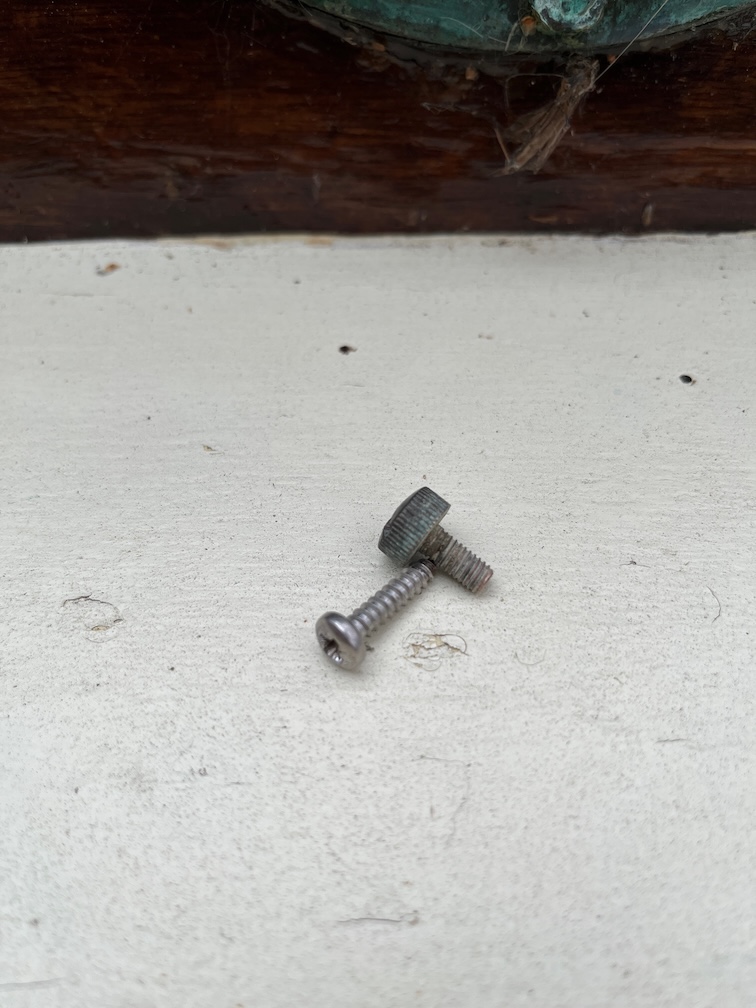
These are the fixings. The screw will be replaced but I could only find brass knurled bolts that will fit.
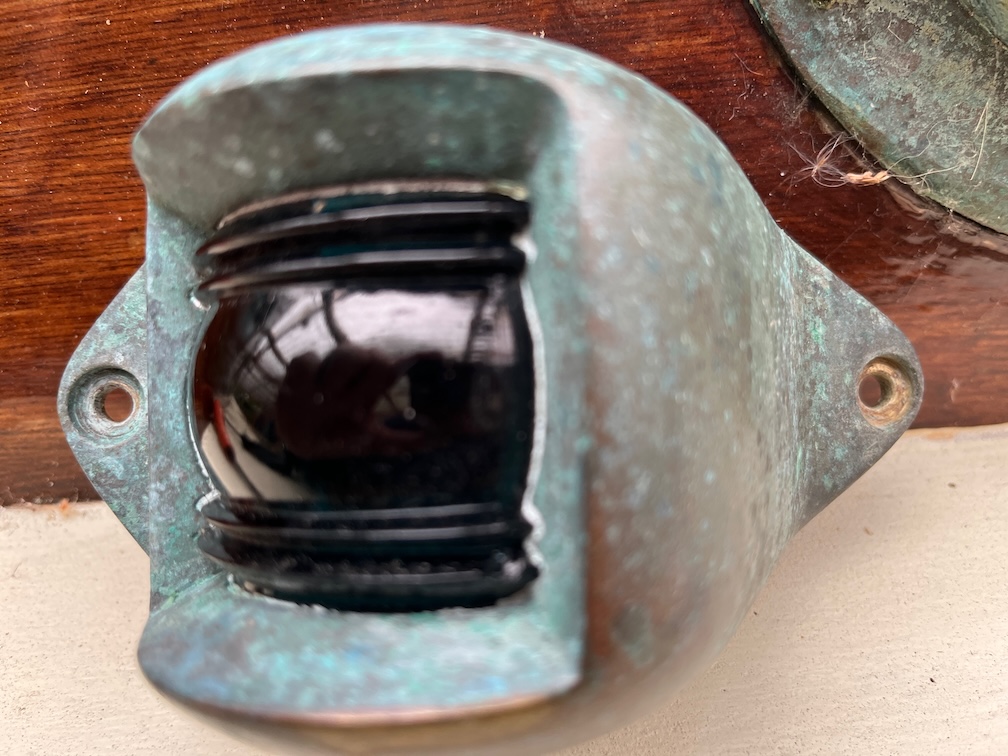
The problem is the recesses in the casing. The heads of the knurled bolts measures 11.2mm in diameter and although I can find stainless steel knurled bolts, only the brass ones have a head that will fit into the recess. Even then it might be tight as those have a head diameter of 12mm, so it’s going to be close. Also, I think that the nav lights are bronze, not brass and I’d really like to have bronze replacements. However, those would have to be custom made and that would be exceedingly expensive. This is also why I was looking at stainless ones.
Never mind, brass ones are on order and I’ll liberally coat them with some thing when I reassemble the lights to slow down the leaching of the zinc from the brass over time. The pack also contains 5 bolts so I’ll have replacements until I can find bronze or stainless replacements.
For now, time for a cup of tea.
