Charles Stock had a unique opinion on painting and varnishing that basically said, if it isn’t peeling off, just paint over it.
I have long realised that if paint will not fall off, it is best left on. (A.C.Stock, “In Shoal Waters”, 2013 p31)
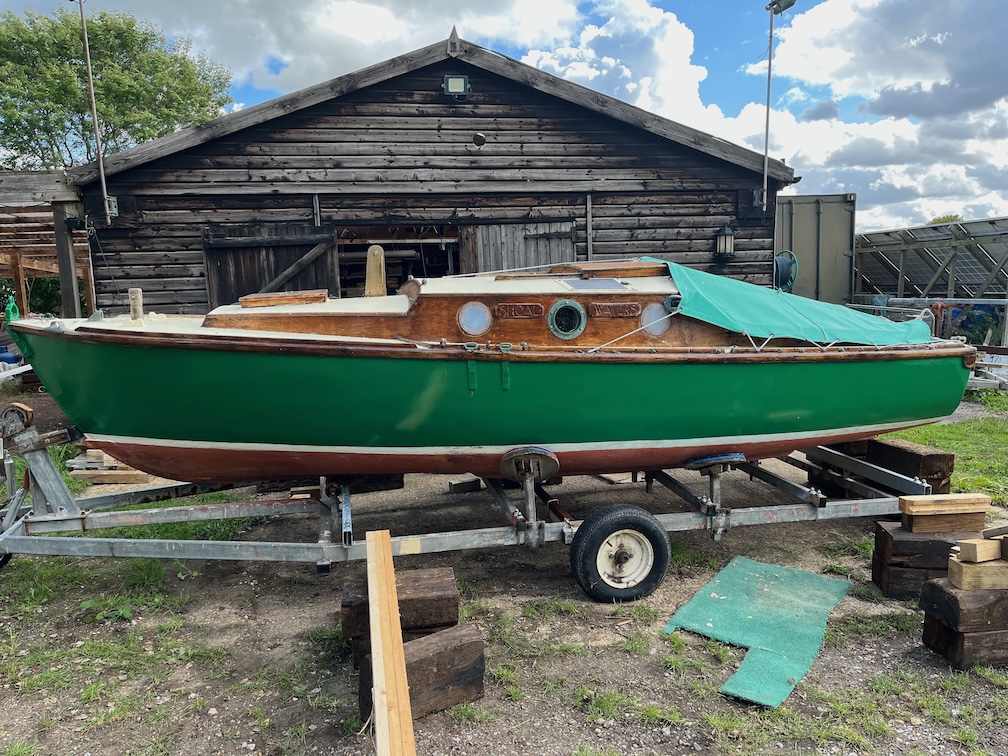
This is quite evident in Shoal Waters even to this day. The paint and varnish are thick with many layers and not peeling off.
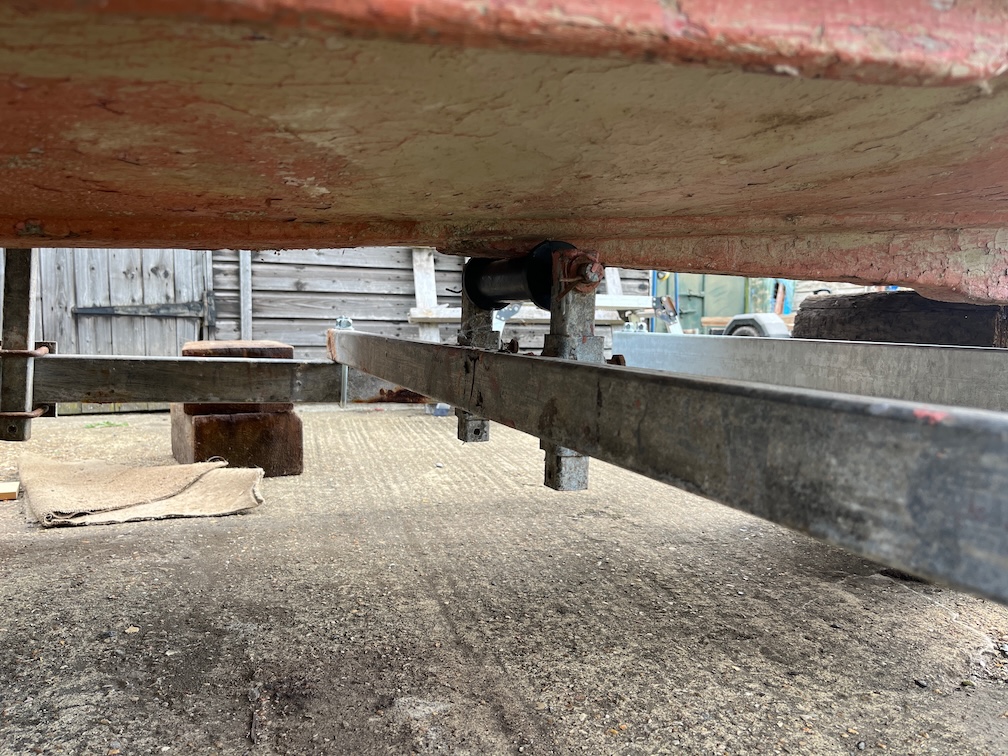
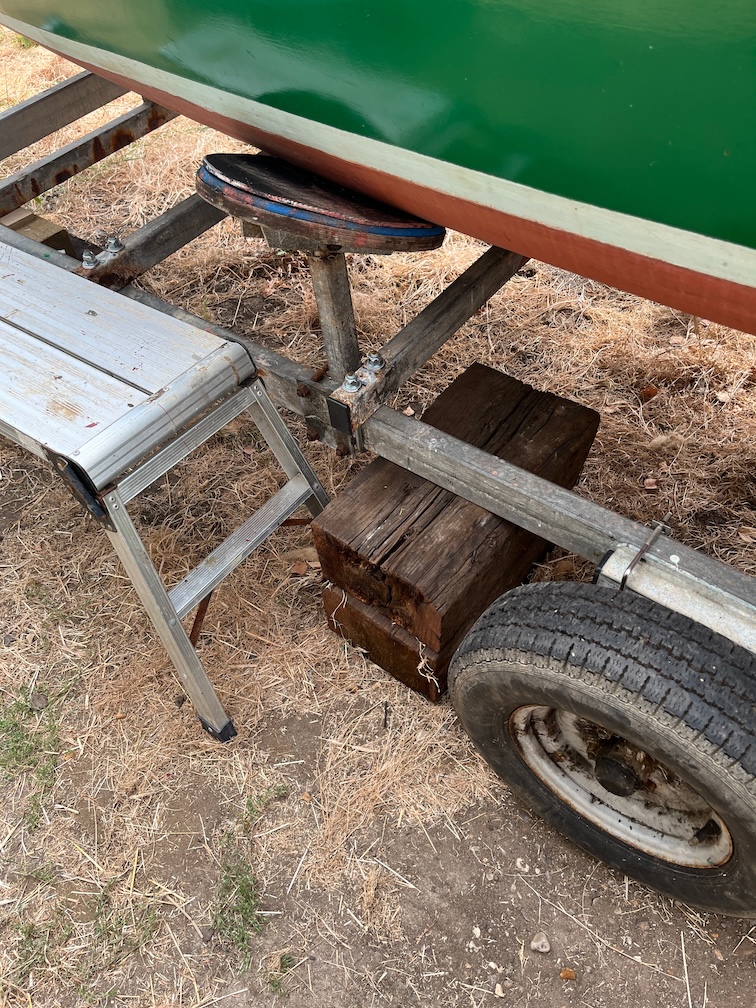
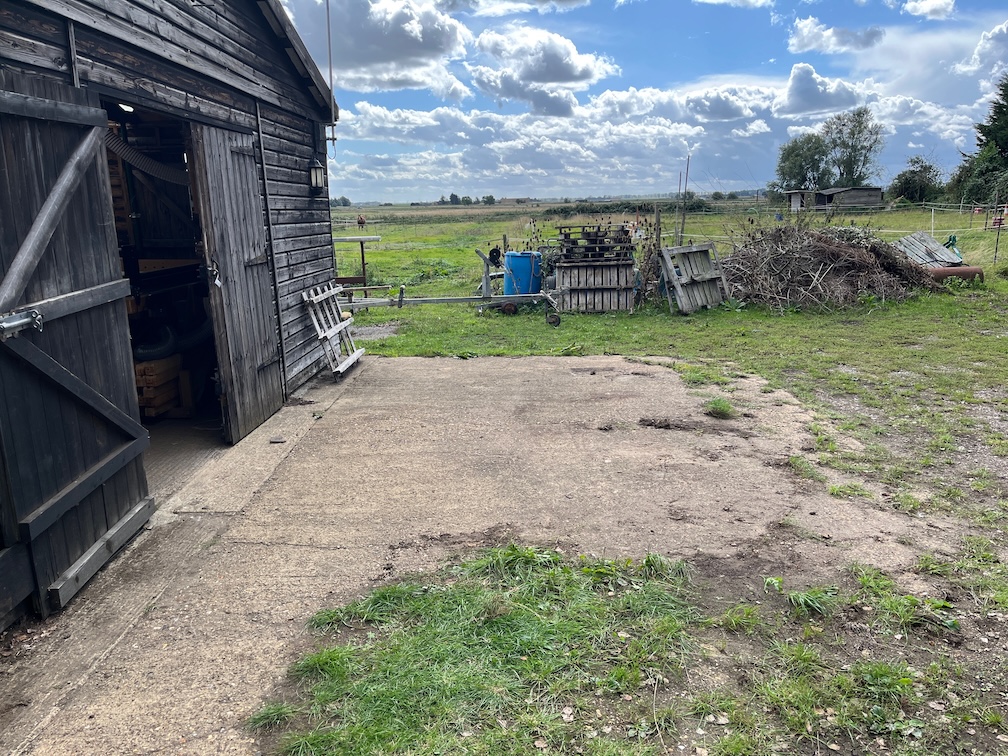
I did find something unexpected about this today. All during the rewiring process I have been meaning to hop into the cockpit and check where the screws protruded, if anywhere, that held the switch box in place. I have changed the way this will be fixed such that the screws are put in from the outside of the upstand and not the inside as before. The problem is that there is a rack on the outside of the upstand that was used to hold a pair of binoculars in easy reach when sailing and I expected this to be in the way of the new screws.
But I wasn’t sure and that required inspection. Unfortunately, I keep on forgetting to do this. I pass Shoal Waters many time a day on the way to the workshop or back to the house and each time I forget.
So this time, instead of saying “I’ll do that the next time I go by the boat” I went out to do it there and then.
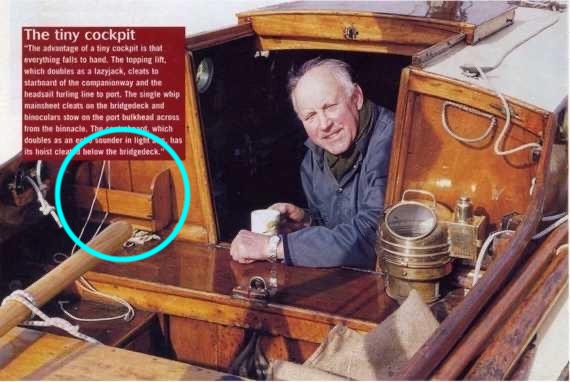
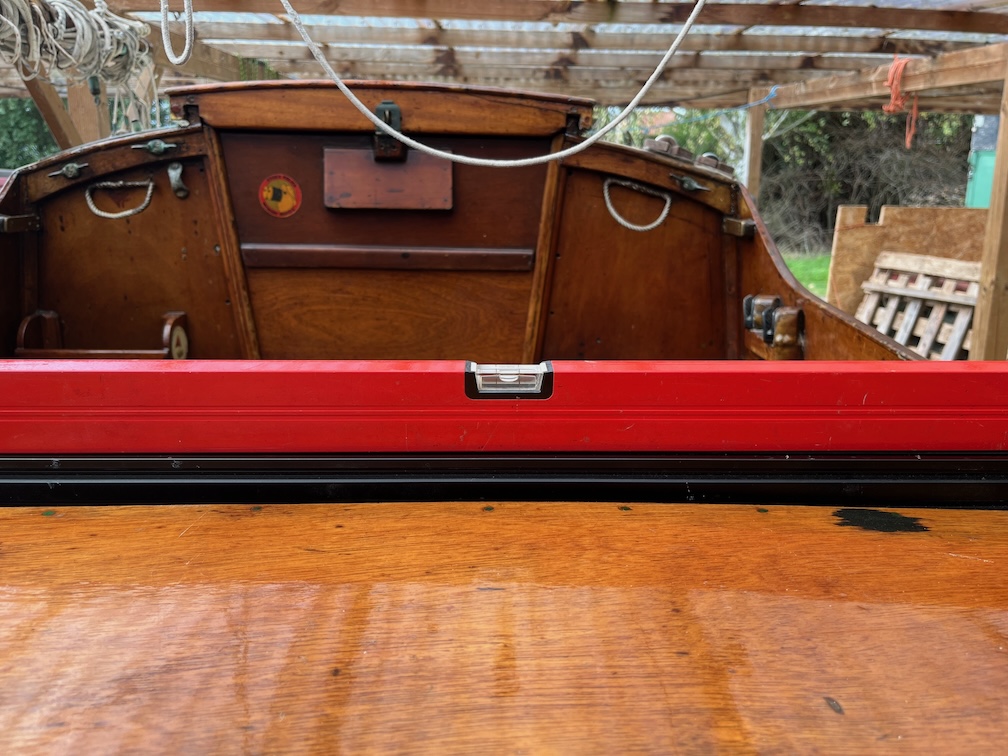
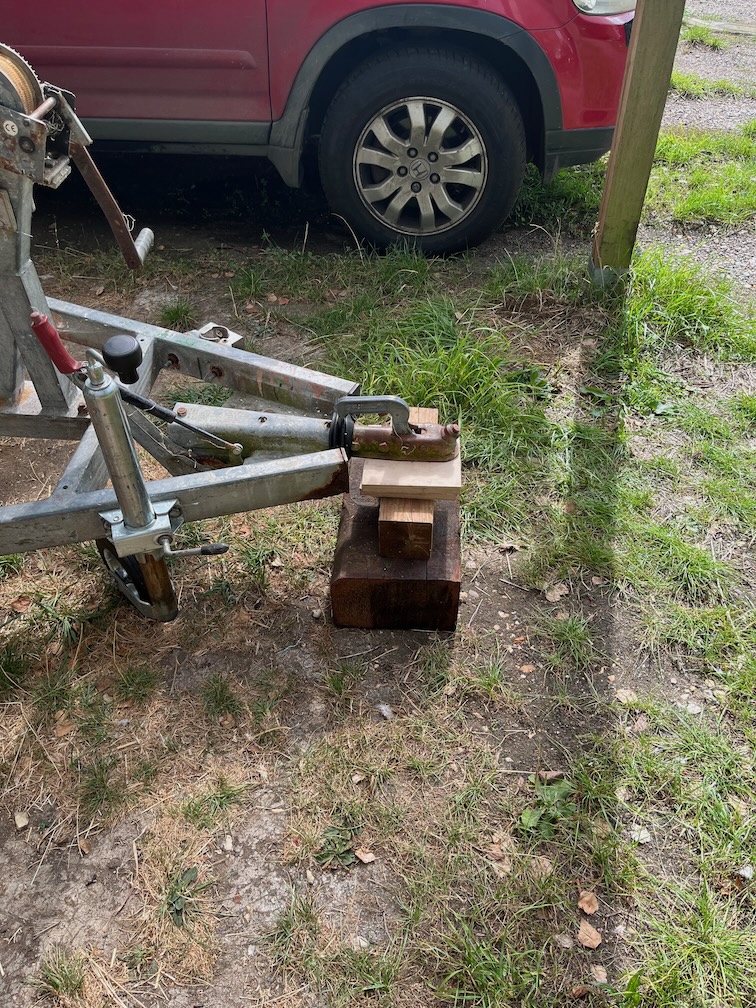
I’ve highlighted the rack in the above photo and it’s been there since the boat was built, or shortly after.
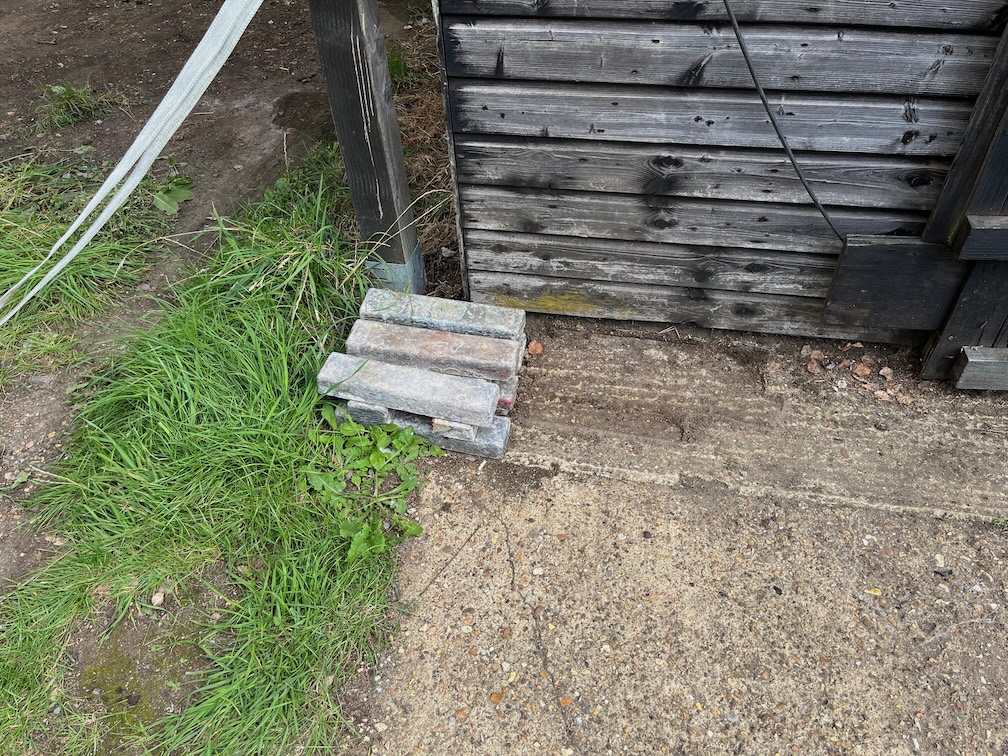
Closer inspection showed that one of the original screws for the switch box may have screwed into the right hand side of the rack very slightly and the other just poked through the upstand. With the switchbox removed I could see that the rack was partially loose and I took it off so that it doesn’t get in the way or damaged when fitting the new switch box.

Here it is removed and on the saw table.
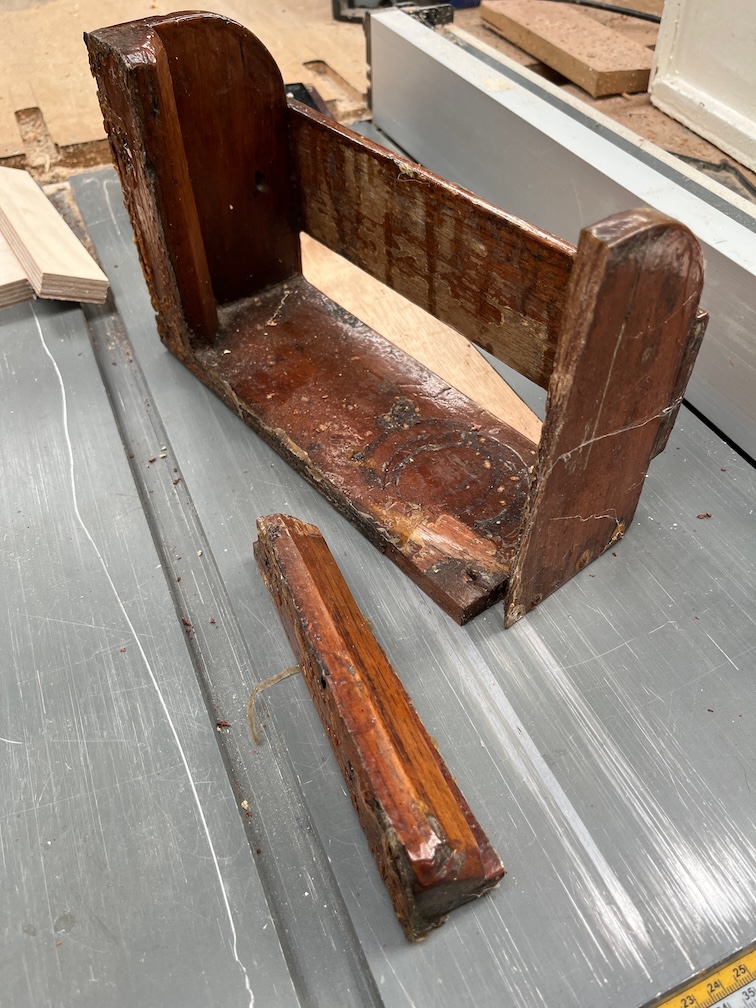
Unfortunately, it broke whilst being removed and this is where Charles’ multiple layers of varnish come in. You see, there’s nothing holding the rack to the upstand except dried varnish. There are holes for screws to be put in from the inside, but no screws. Just varnish.
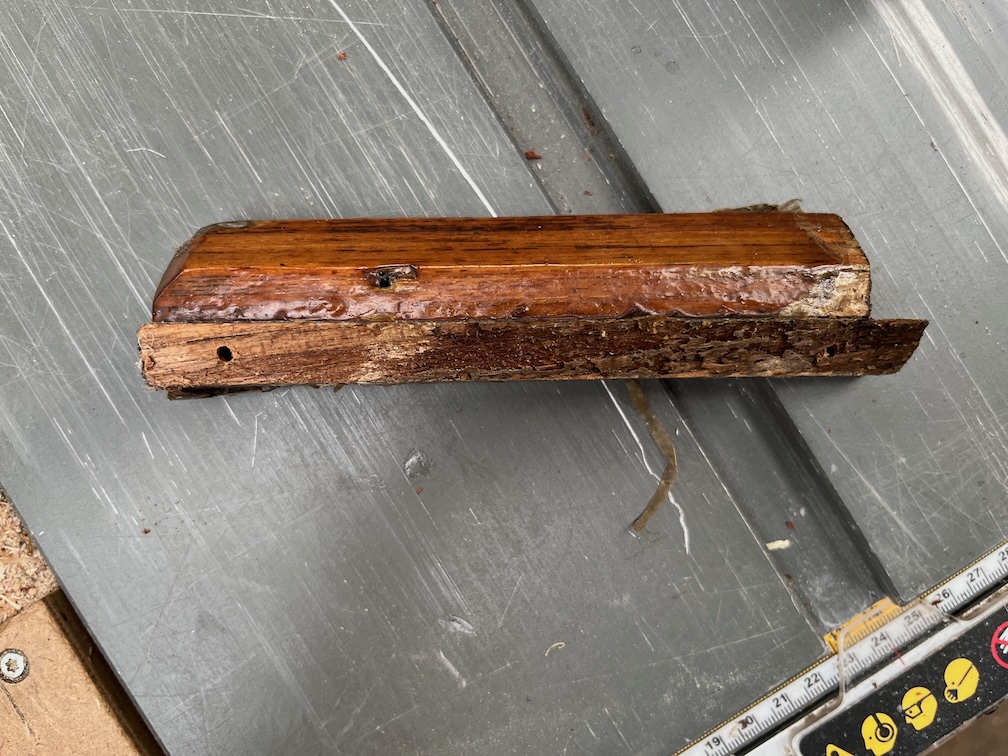
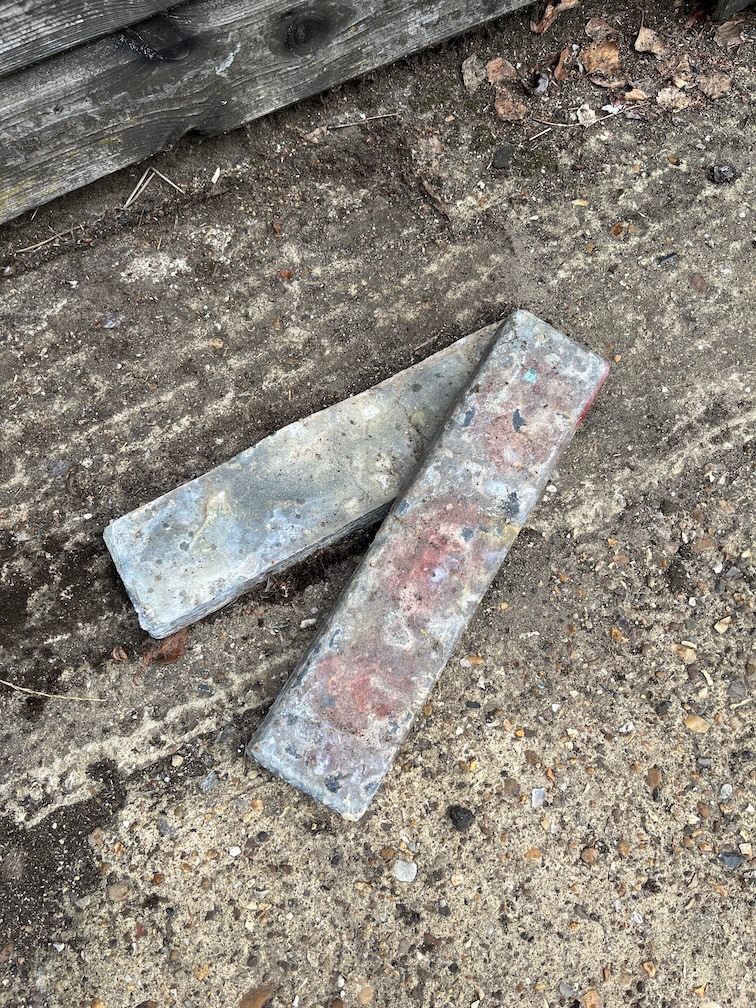
Looking more closely at the broken section you can see that most of the break is darker in colour than the rest. This is varnish that has seeped into the crack and the lighter bit at the left hand side of the photo is the new break. You can also see two small holes in the edge which will be explained in a moment.
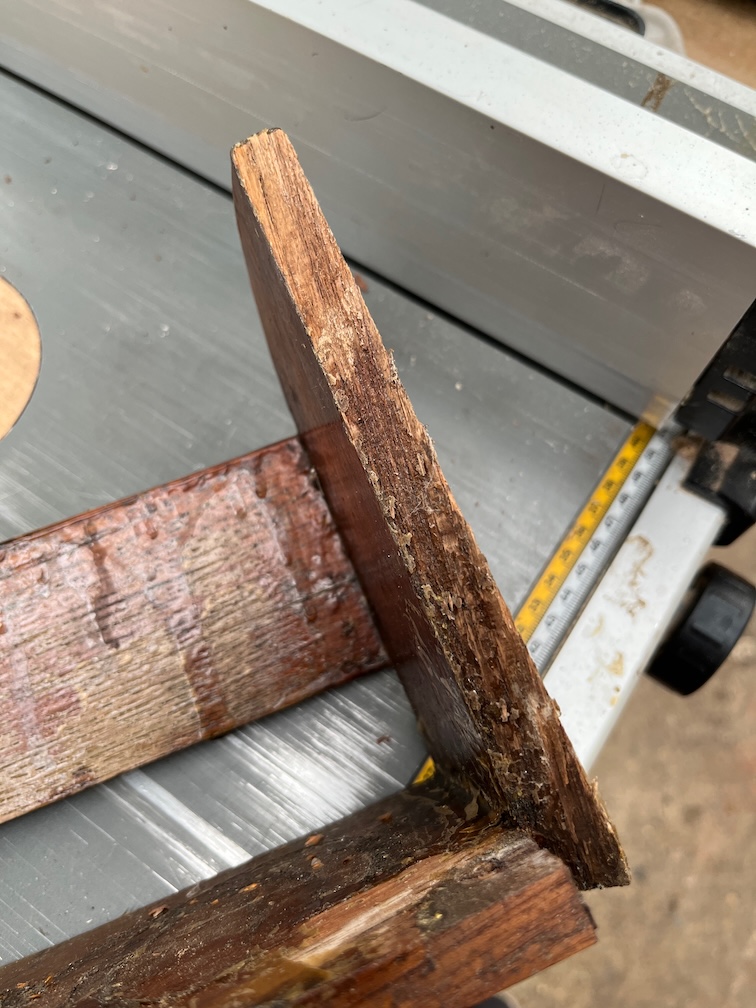
The other part of the rack shows the varnish a little more clearly.
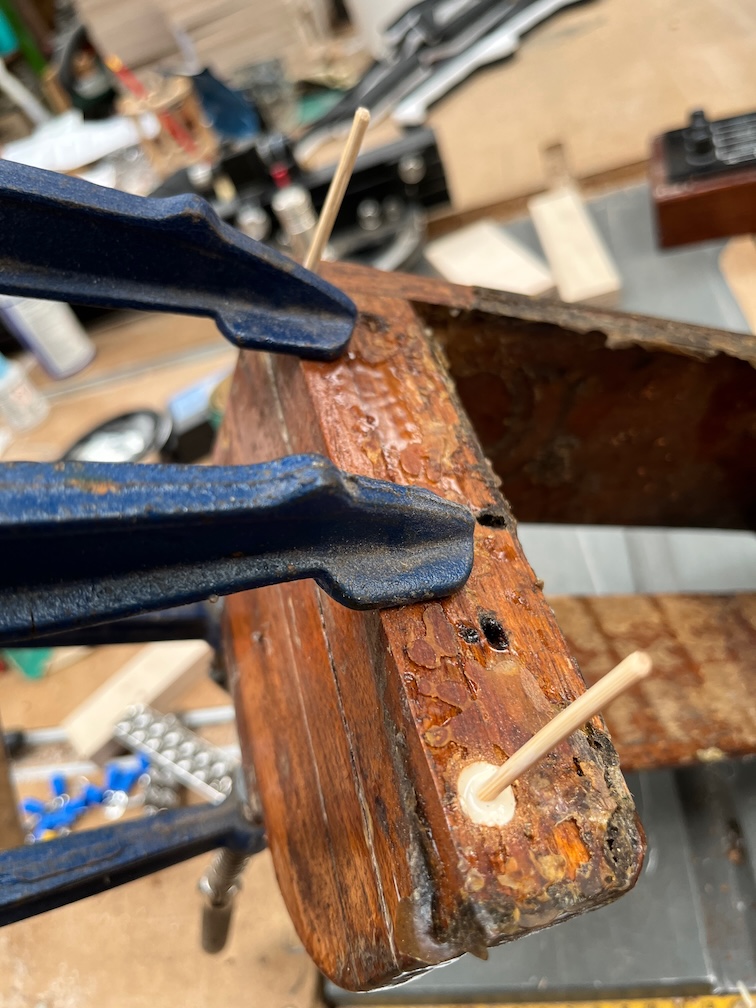
I sanded the break, drilled two holes for bamboo pins and glued the pieces back together. The reason for the bamboo pins is that I don’t have sufficiently long screws of either bronze or stainless steel that are M3 in size and I’m not about to buy some when the pins will do the job. I’m also not going to put in steel screws, which I do have of sufficient dimensions, as these will eventually rust and split the rack apart.
This photos also shows the thick layer of varnish on the wood that is against the upstand. The crack has obviously been there for a while, but I have no idea when the screws were removed. I would presume that they were removed at some point for some reason and because the rack didn’t fall off due to the varnish glueing it to the upstand, they were forgotten about and never put back in.
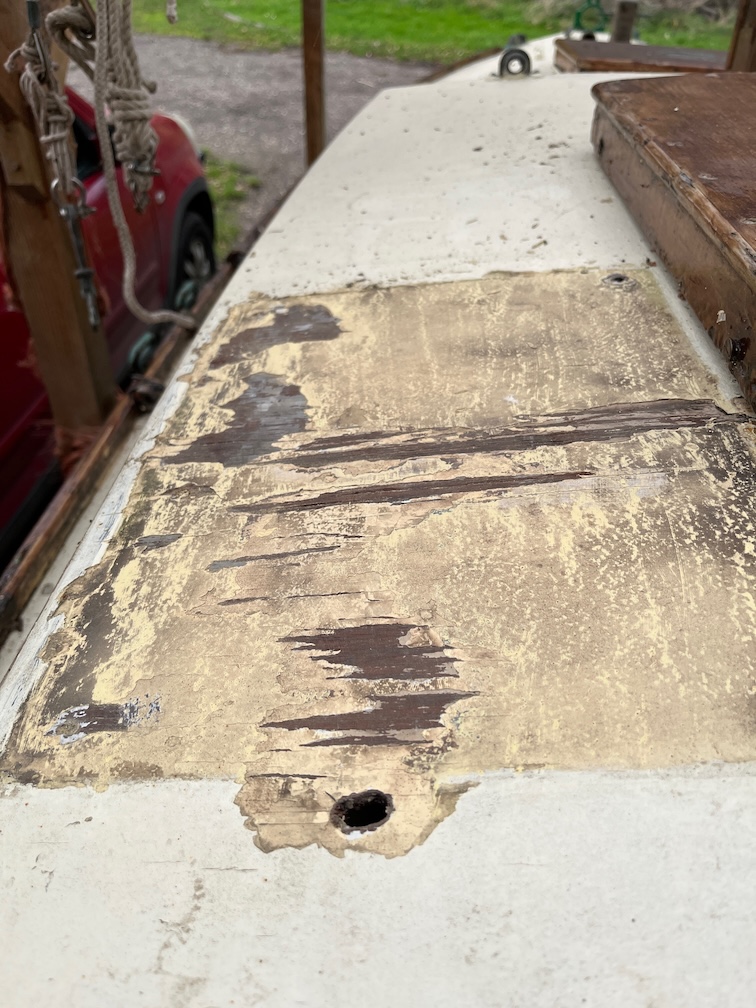
Whilst I was in the cockpit I took a look at the cabin top. I had scraped off all the loose paint that I found under the old solar panel last night but it was close to being fully dark at the time so I was unable to take a photo. Here the wood has had a chance to dry and although there is some slight damage to the surface, there is no rot. Good news here.
I’ll take a sander to it later on and apply a thin coat of epoxy to the exposed wood to strengthen it before painting it again.
Time for a cup of tea.