
The main task for today is to cut out the plywood template for the inner case side. All but the bottom of the template are straight lines and are thus easy to deal with but the curved bottom is a little more difficult to cut. I cut all the easy straight edges which then left me with a fairly long piece of plywood that I cut on the bandsaw.
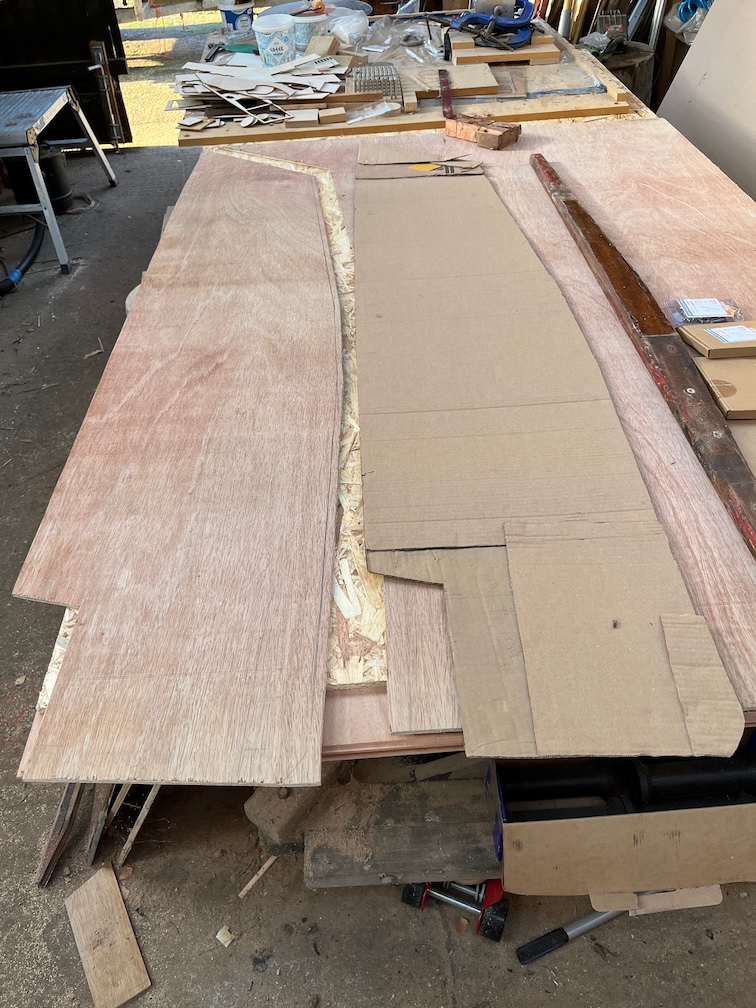
This is the result. But this is not the finish of the plywood template, just the first stage of a number of stages.
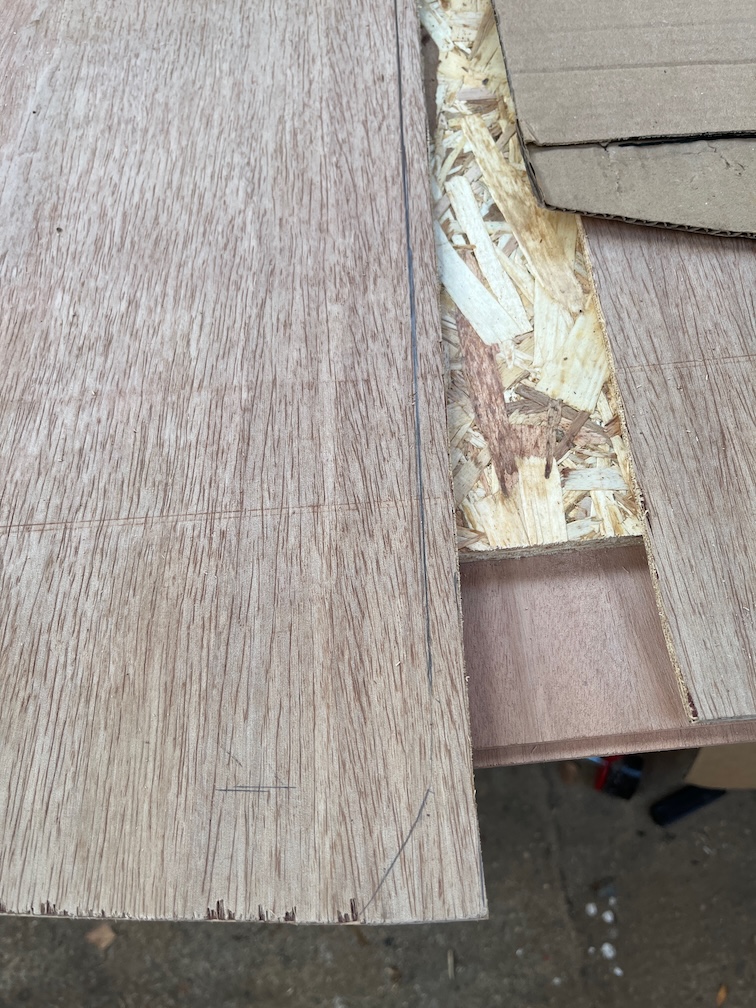
I’ve cut the top edge about 10mm too large since I’m not entirely sure where the top will be and won’t know until the top runner has been extended replacing the part that had to be cut off as it was screwed to the aft block from the inside the case and thus inaccessible. Once the extension of the top batten is done I’ll be able to clamp the runner in the correct place for and aft and that will give me the top line on the template and I’ll be able to mark and cut the template to the correct shape.
Then it was a case to offer up the template, see where it doesn’t fit, mark the adjustments, take the template back into the workshop, make the adjustments, rinse and repeat until the template fits.
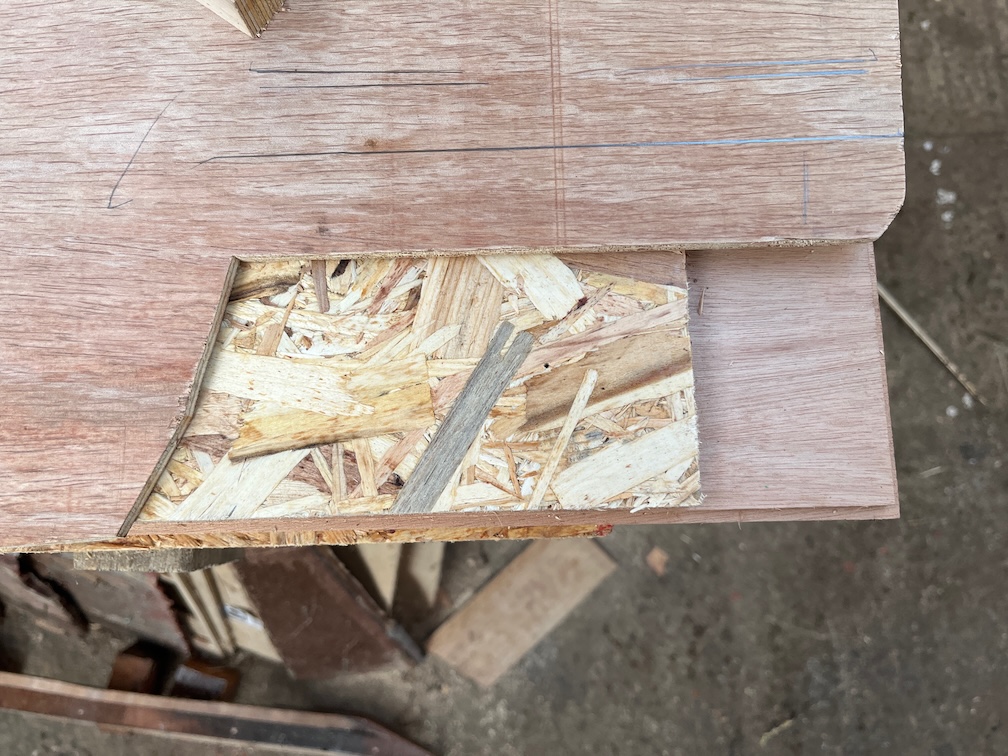
This is made more difficult as the template is a little floppy and keeps on falling off the keel slot lip. Still, only the front end of the template needed to be adjusted due to my not being able to get a clean edge with a chisel because of the access restrictions.
Time for a cup of tea.
Some time later…
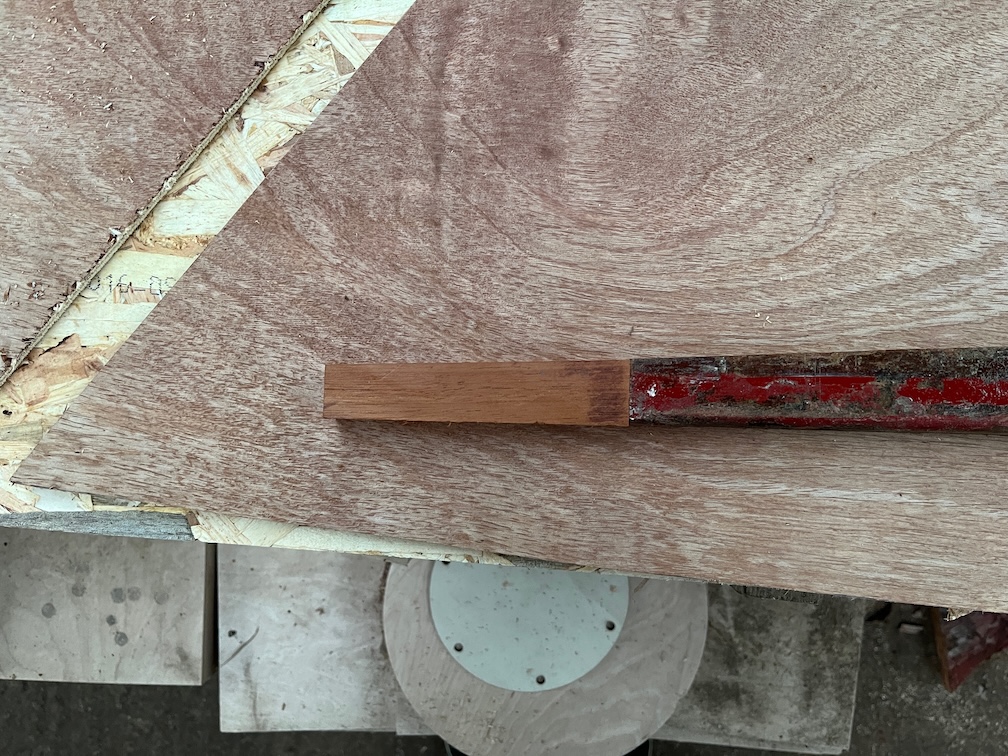
The edges of the top runner on each side of the case are not parallel, so my next task was to find a piece of old Shoal Waters Mahogany from which to cut the piece that will extend the top runner back to its original length. This wasn’t as easy as it sounds as most of the offcuts had saw cut, nails, old screws and splits and sometimes all at once.
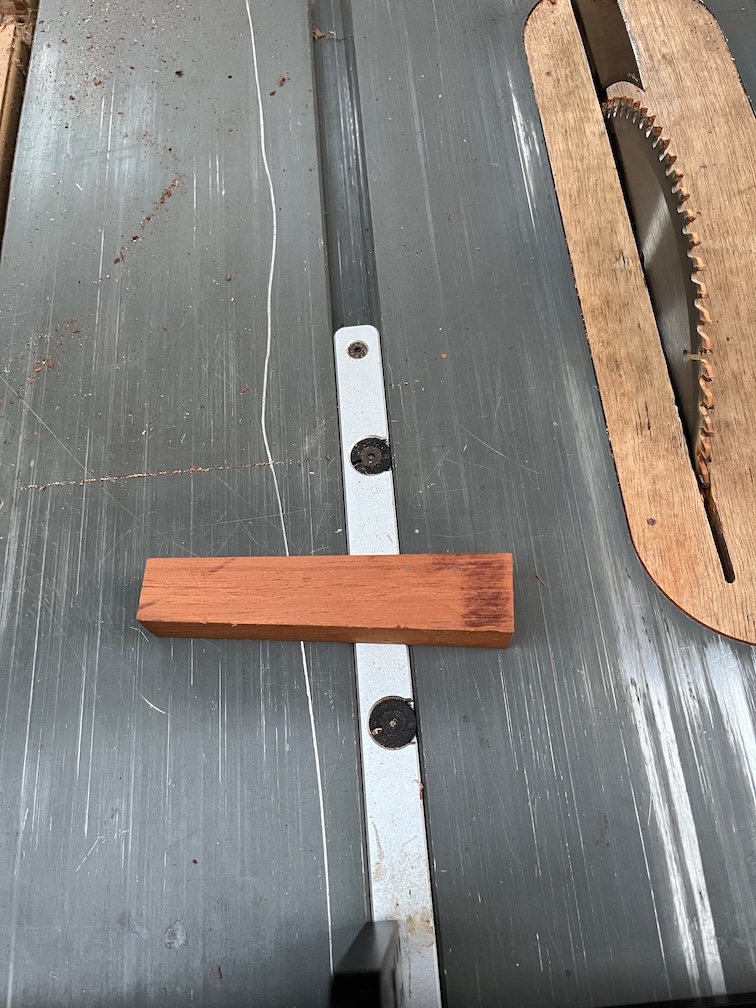
After about an hour of careful measurement, marking, cutting and shaping I had a suitably shaped piece for the extension.
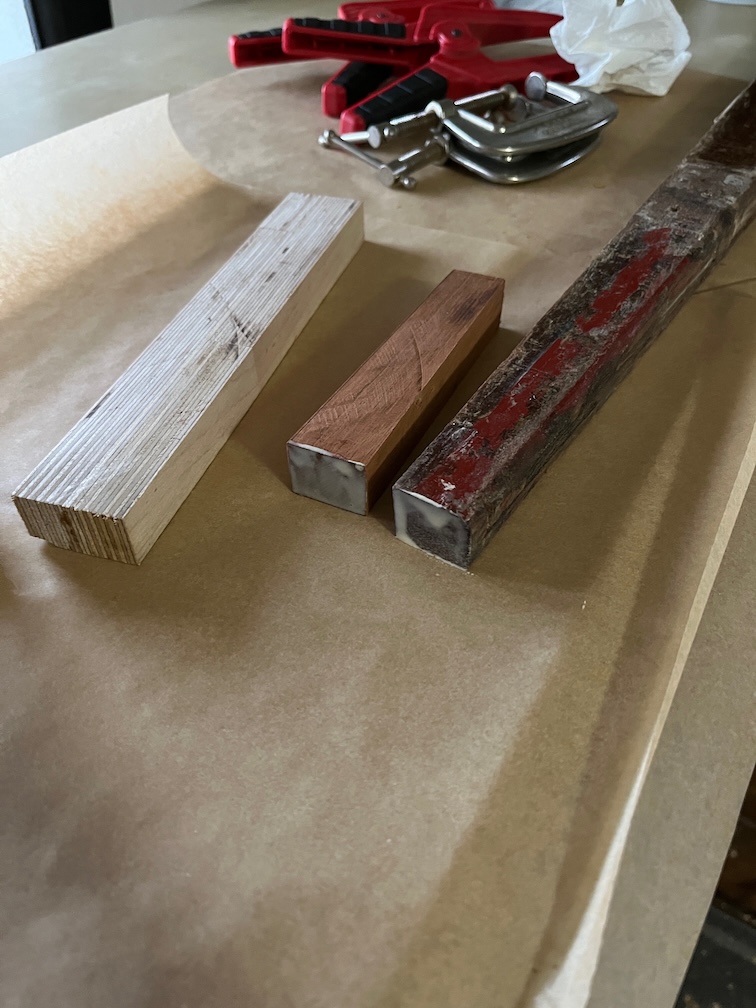
This is where it needs to go and once I have glued the pieces together I’ll round over the corners on the outside of the extended bit to match the old part.
The pieces, glue and cramps were brought inside as it is now late afternoon and the temperature is dropping now that the sun is setting.
In order to give the glue the best change to cure the higher temperature indoors is needed. Here you can see that I have applied the glue to ends but not yet put them together. This is because the parts of the piece to be glued are end grain and if you just glue them together directly, the joint is not very good as the grain wicks away the glue. The recommended procedure is to apply a thin layer of glue to each surface and then wait 10-15 minutes for the glue to be absorbed into the grain. Then apply some more glue to each surface and clamp the two surfaces together firmly.
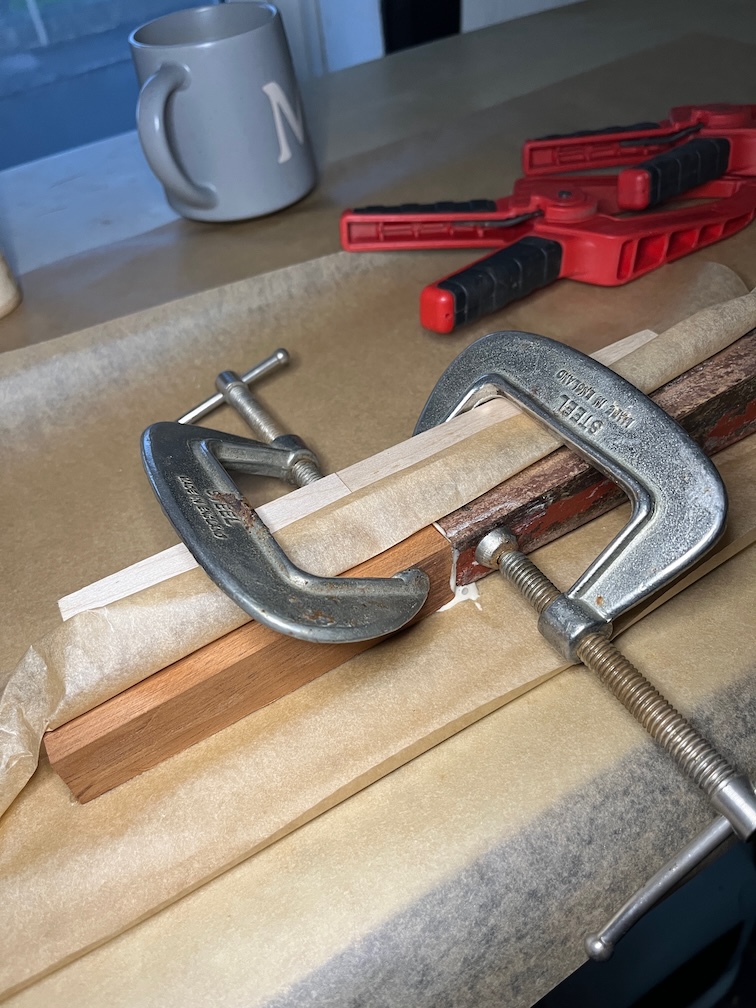
Fifteen minutes or so later the joint has been assembled and clamped. There is a straight edge clamped to one side of the joint to hold the pieces in the correct position and baking paper used to stop the glue from sticking the straight edge to the work piece.
I’ll leave this for a few hours, remove the cramps and then move the workpiece close to the Rayburn for the night.
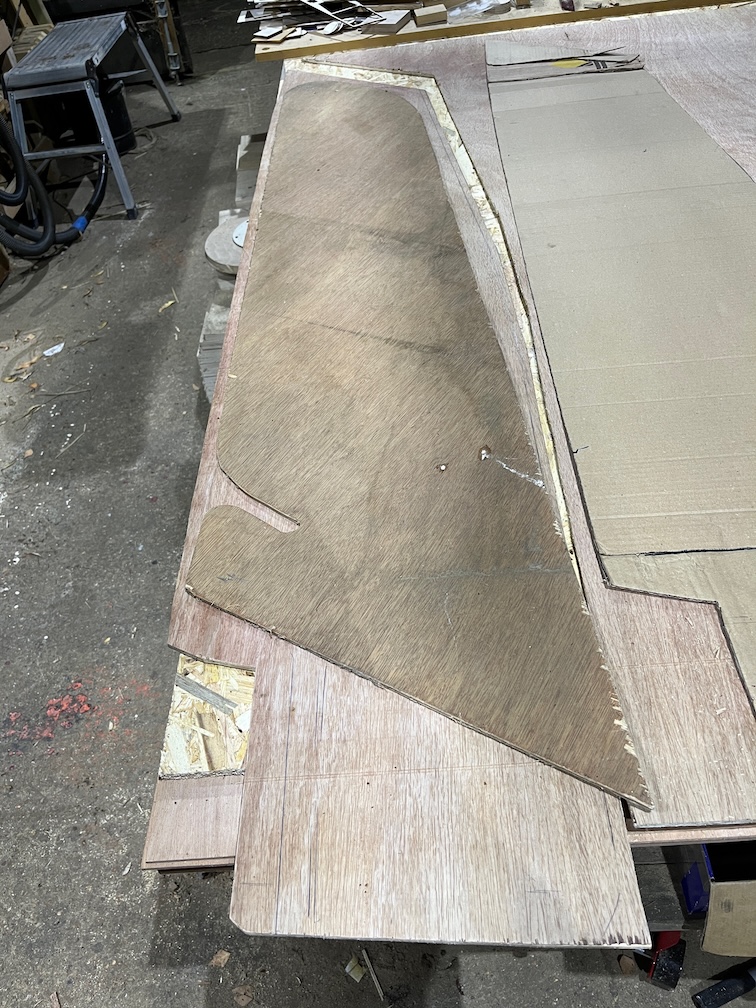
The old case side came out in pieces, so it is very interesting to see just how big the side of the centerplate case is when it is in one piece. This is not the end of the story as the outer layer of the case side extends further aft by about 200mm, so the complete side will be quite long. This is not that surprising when you consider that Shoal Waters’ centerplate is 5′ long or 1,524mm. Naiad’s plate is longer still.

Shoal Waters’ plate compared to the template I made of Naiad’s plate. Not sure why they are different. I wonder if Shoal Waters’ plate was cut down or originally that size?
Putting Naiad’s plate onto the case template in approximately the correct position shows that the case is only just large enough for the plate.
The next tasks on the list to complete the plywood templates are:
- Shape the extension of the top runner and use it to mark the correct top edge of the inner template.
- Make some spacers and hot glue them to the template such that they are inside the slot.
- Clamp the template in place.
- Cut some short pieces the same width and height as the bottom runner and fix to inner template (hot glue then screw).
- Mark the location of the pivot bolt hole.
- Drill the pivot bolt hole and check that the hole is correct.
- Cut a cardboard template for the outer piece of the case side.
- Cut a plywood template from the cardboard template.
- Clamp the inner template in position and adjust the outer template to fit.
- Drill the pivot bolt hole through the outer template.
Sounds like quite a lot, but , if nothing goes wrong, I should be able to complete that lot in a day. We will see.
Time for a cup of tea.